Sanding for a Professional Finish: Practical Tips with the Right Tools
Listen to a podcast about this article
Sanding for a Professional Finish: Practical Tips with the Right Tools
A smooth finish separates decent work from work worth showing off. Whether you're restoring furniture, preparing surfaces for paint, or rounding off rough edges, sanding is the foundation. As the old carpenter's saying goes: "Measure twice, cut once and sand properly the first time."
The quality of any painted or coated surface depends largely on how well you prepared it. Here's what you need to know to get it right.
1. Let the Tool Do the Work
It's tempting to lean in and push harder. Don't.
Excessive pressure causes uneven sanding, damages your material, and overheats your machine. Keep your touch light and let the sander glide across the surface. The weight of the tool itself provides sufficient downforce.
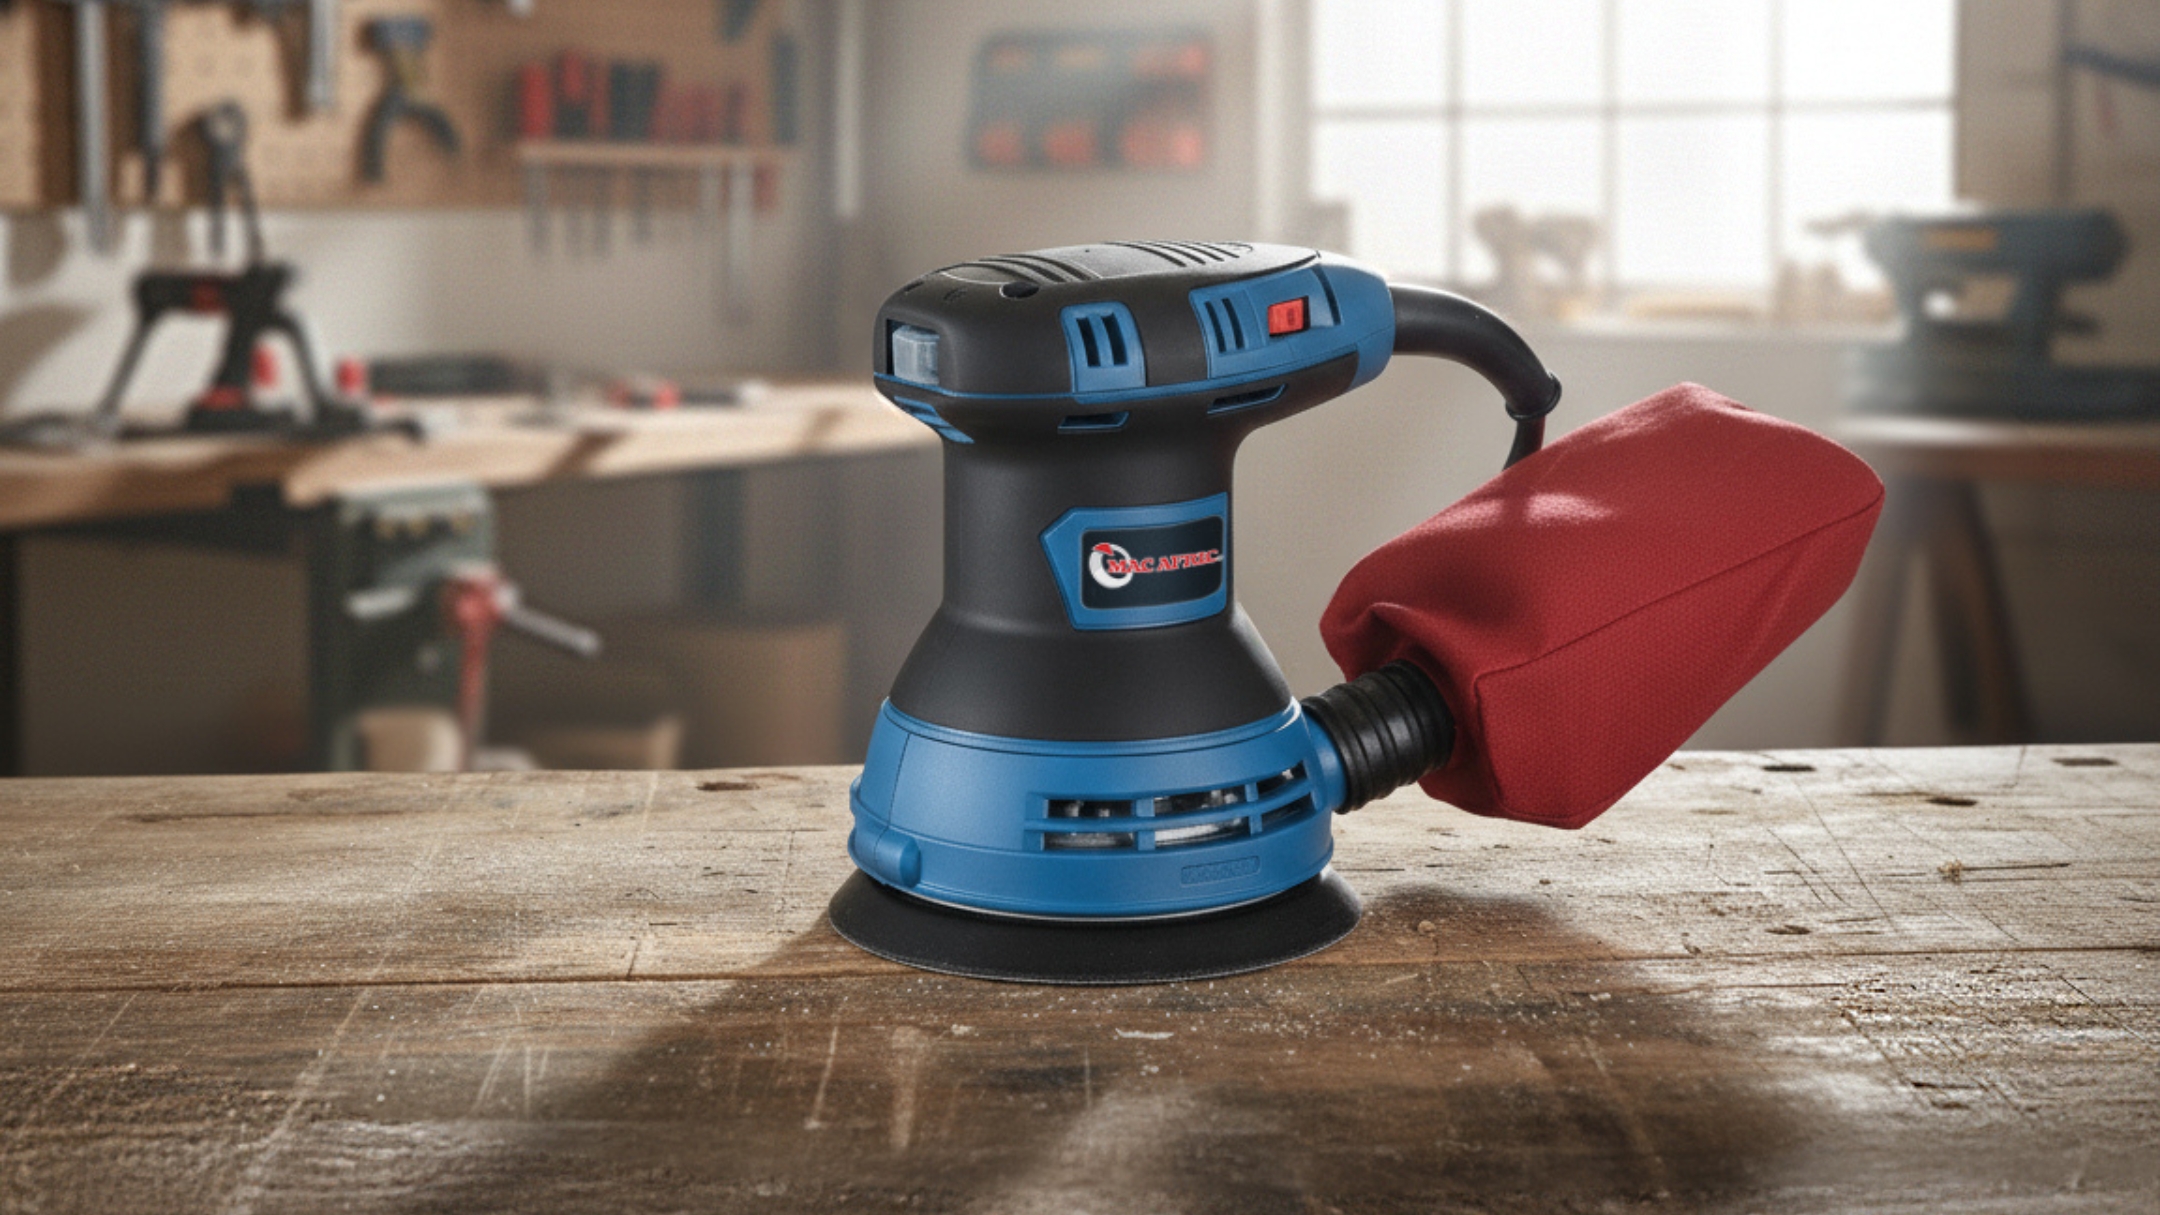
The MAC AFRIC Random Orbital Sander (300 W) is designed with this in mind. Its compact, ergonomic body features large soft-grip surfaces for comfortable handling in multiple positions. With variable speed control (4,000–12,000 RPM), you can dial in the right setting for each material without forcing the machine.
Technical specifications:
| Feature | Specification |
|---|---|
| Power Output | 300 W |
| Rated Voltage | 230 V @ 50 Hz |
| No-Load Speed | 4,000–12,000 RPM |
| Pad Size | 125 mm |
| Net Weight | 1.4 kg |
When the Velcro pad wears out, the MAC AFRIC Velcro Pad for SSANDR-001 (122 mm diameter, 8 self-suction holes, 3-pin lock mounting) replaces it quickly.
2. Keep the Sander Moving
Movement is everything. Holding the sander in one spot creates swirl marks, gouges, or burns. Keep it flat against the surface and make smooth, overlapping passes.
Start with vertical strokes across the workpiece, then switch to horizontal passes. Some experienced woodworkers alternate direction between grits vertical on one, horizontal on the next to ensure consistent coverage without visible sanding tracks.
The cardinal rule: Never stop moving. If you do, you'll leave evidence behind.
3. Grit Progression Matters
Sandpaper grit follows the P-rating system (a European standard denoting abrasive particles per square inch). The range runs from a coarse P36 to a polishing-grade P4000.
The principle is straightforward: start coarse if you need to remove material, old paint, or deep scratches. Progress to finer grits to smooth the surface. Finish with ultra-fine grit for that final buttery texture.
What not to do: Skip grits.
Jumping from P40 straight to P120 leaves the deeper scratches from the coarser paper unaddressed. Each grit level removes the marks left by the previous one. Skip a step, and those marks show up the moment you apply stain or finish.
A practical progression for most woodworking:
- 80 grit: Initial stock removal, rough surfaces
- 120 grit: Smoothing after rough sanding
- 150 grit: Intermediate refinement
- 180 grit: Pre-finish for oil-based stains
- 220 grit: Final pass for water-based stains and clear coats
For painted surfaces, 180 grit usually suffices. For a high-gloss finish, some craftsmen take it to 400 grit before the final coat.
4. Dust Collection Isn't Optional
Sanding creates dust and that dust causes problems. It clogs your sandpaper, reducing effectiveness and leaving swirl marks or scratches that ruin your finish. It also creates a health hazard.
The MAC AFRIC Random Orbital Sander includes a microfilter dust extraction system for efficient collection. Use it. Connect it to a vacuum system if available. Your lungs, your workspace, and your finish will thank you.
5. Change Your Sandpaper Before It Fails
Worn or clogged sandpaper doesn't just slow you down it damages your work. When the paper stops cutting efficiently, when it clogs with dust despite extraction, or when you notice it leaving marks instead of removing them, swap it out.
Fresh sandpaper works quickly and consistently. It's a small expense that prevents expensive mistakes.
Cordless Option: For Jobs Without a Power Point
Watch the 125mm Rotary Sander in Action
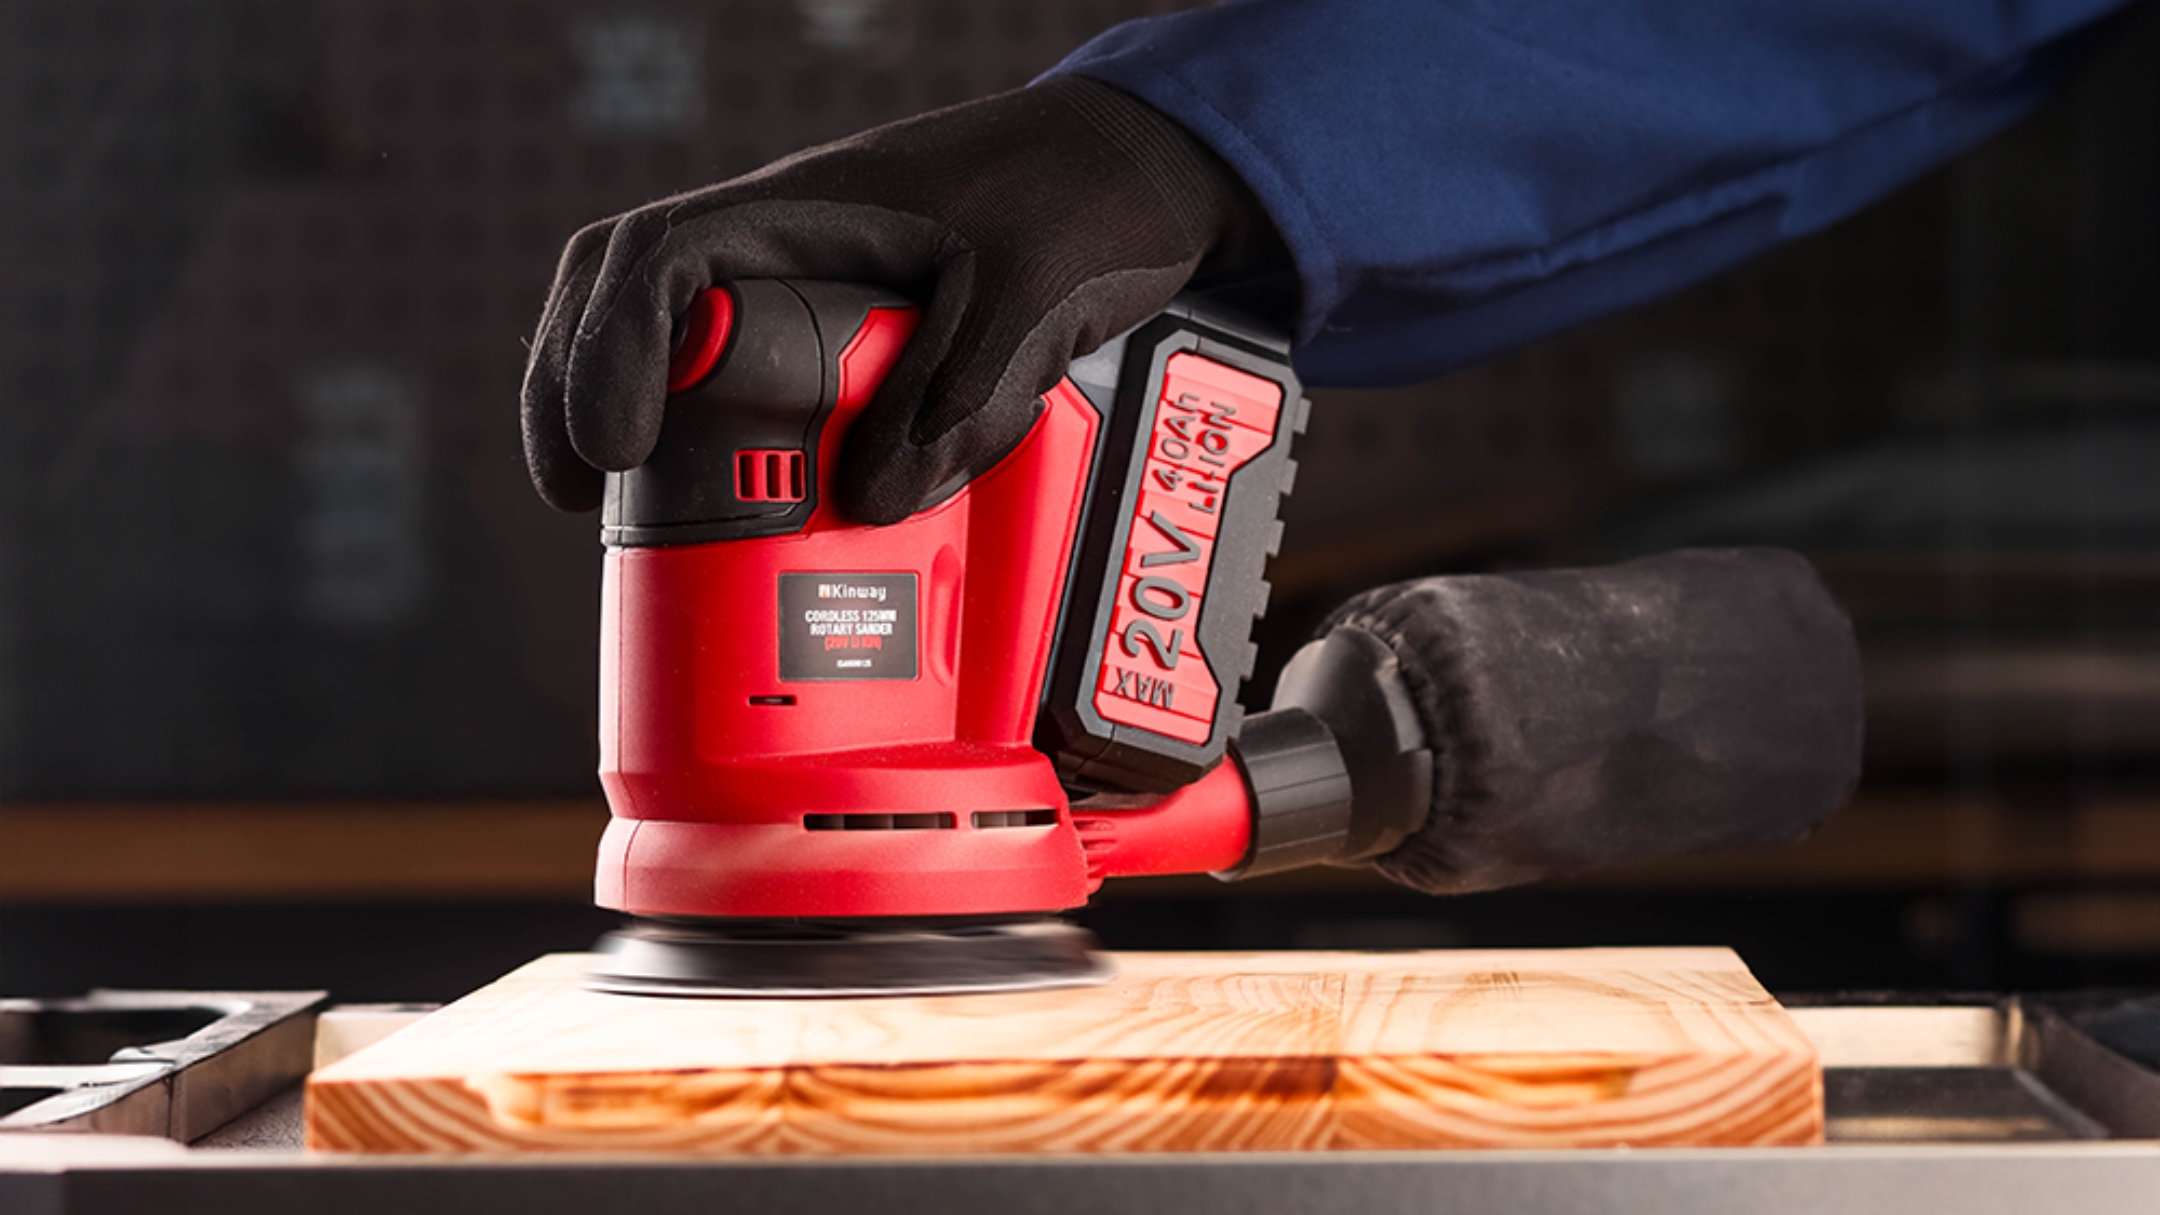
See the Kinway 20V Brushless Cordless Rotary Sander in use smooth, powerful, and designed for effortless surface prep:
Sometimes you need to sand where there's no plug nearby on site, outdoors, or in awkward positions.
The Kinway 20V Brushless Cordless 125 mm Rotary Sander handles these situations. Its brushless motor delivers 11,000 RPM without the maintenance demands of brushed motors, and at 1.97 kg, it's light enough for extended use without fatigue.
Technical specifications:
| Feature | Specification |
|---|---|
| Rated Voltage | 20 V |
| No-Load Speed | 11,000 RPM |
| Sanding Disc Size | 125 mm |
| Sanding Motion | Deflection Rotary |
| Weight | 1.97 kg |
| Sound Pressure Level | 87.3 dB(A) |
| Vibration (Wood) | 3.709 m/s² |
Note: This is a tool-only option. Pair it with the Kinway 4.0Ah Li-Ion Battery for longer sessions. The battery works across the entire Kinway 20V platform.
Kinway is exclusive to Adendorff designed for South African households and workshops at an accessible price point.
The Bottom Line
Sanding isn't glamorous, but it's what separates amateur work from results worth being proud of. Good preparation determines the quality of every coat that follows.
The right tools help: a reliable orbital sander with variable speed control for precision, proper dust extraction to keep your work clean, and the option to go cordless when the job demands it.
Everything mentioned here is available at your nearest Adendorff store or online at adendorff.co.za.
Frequently Asked Questions About Sanding
A: Start with a coarse grit only if you're removing material, paint or heavy imperfections. For rough surfaces, begin at 60–80 grit. For lightly prepped or smooth surfaces, start at 120–150 grit.
A: No. Skipping grits can leave scratch marks that show through the final finish. Each grit removes the scratches from the one before it, so gradual progression is essential.
A: When the surface appears even and all previous scratches are removed. Wipe off dust to inspect properly before moving on.
A: Always sand with the grain on wood. Sanding against it can cause scratches that become visible after staining or sealing.
A: Machine sanding is faster and more consistent for large areas. Hand sanding works best for detailed spots, edges, and curves. For the best finish, use both together.
A: Let the tool or sandpaper do the work. Too much pressure can damage the surface, clog the abrasive, and leave uneven marks.
A: As soon as it’s clogged or stops cutting effectively. Dull abrasives waste time, reduce finish quality, and generate heat.
A: Yes. Dust left behind can cause scratches when using finer grits. Clean with a vacuum, brush, or cloth before each step.
A: No. Each material needs different abrasives and techniques. Wood uses progressive grits; metal needs tough abrasives and light pressure; painted surfaces need fine grits and care.
A: For painting, finish at 180–220 grit. For staining or clear finishes on wood, go to 220–320 grit depending on the smoothness you want.
A: Absolutely. It helps visibility, keeps your workspace clean, protects your lungs, and prolongs your abrasive's life.
A: You might have skipped grits, sanded against the grain, not cleaned between steps, or used worn paper. Proper prep makes all the difference.
Products Featured:
- MAC AFRIC Random Orbital Sander (300 W)
- MAC AFRIC Velcro Pad for SSANDR-001
- Kinway 20V Brushless Cordless 125 mm Rotary Sander – Tool Only
- Kinway 4.0Ah Li-Ion Battery
Download Product Manuals
Related Reading
If you're interested in learning more about sanding tools and how to choose the right one for your projects, check out our in-depth guide:
Belt Sanders vs Orbital Sanders – What’s the Difference?