Hydraulic Motorcycle Lift – Operation Manual
MAC AFRIC 560KGS Hydraulic Motorcycle Lift (GJACKM002): Operation Manual Guide
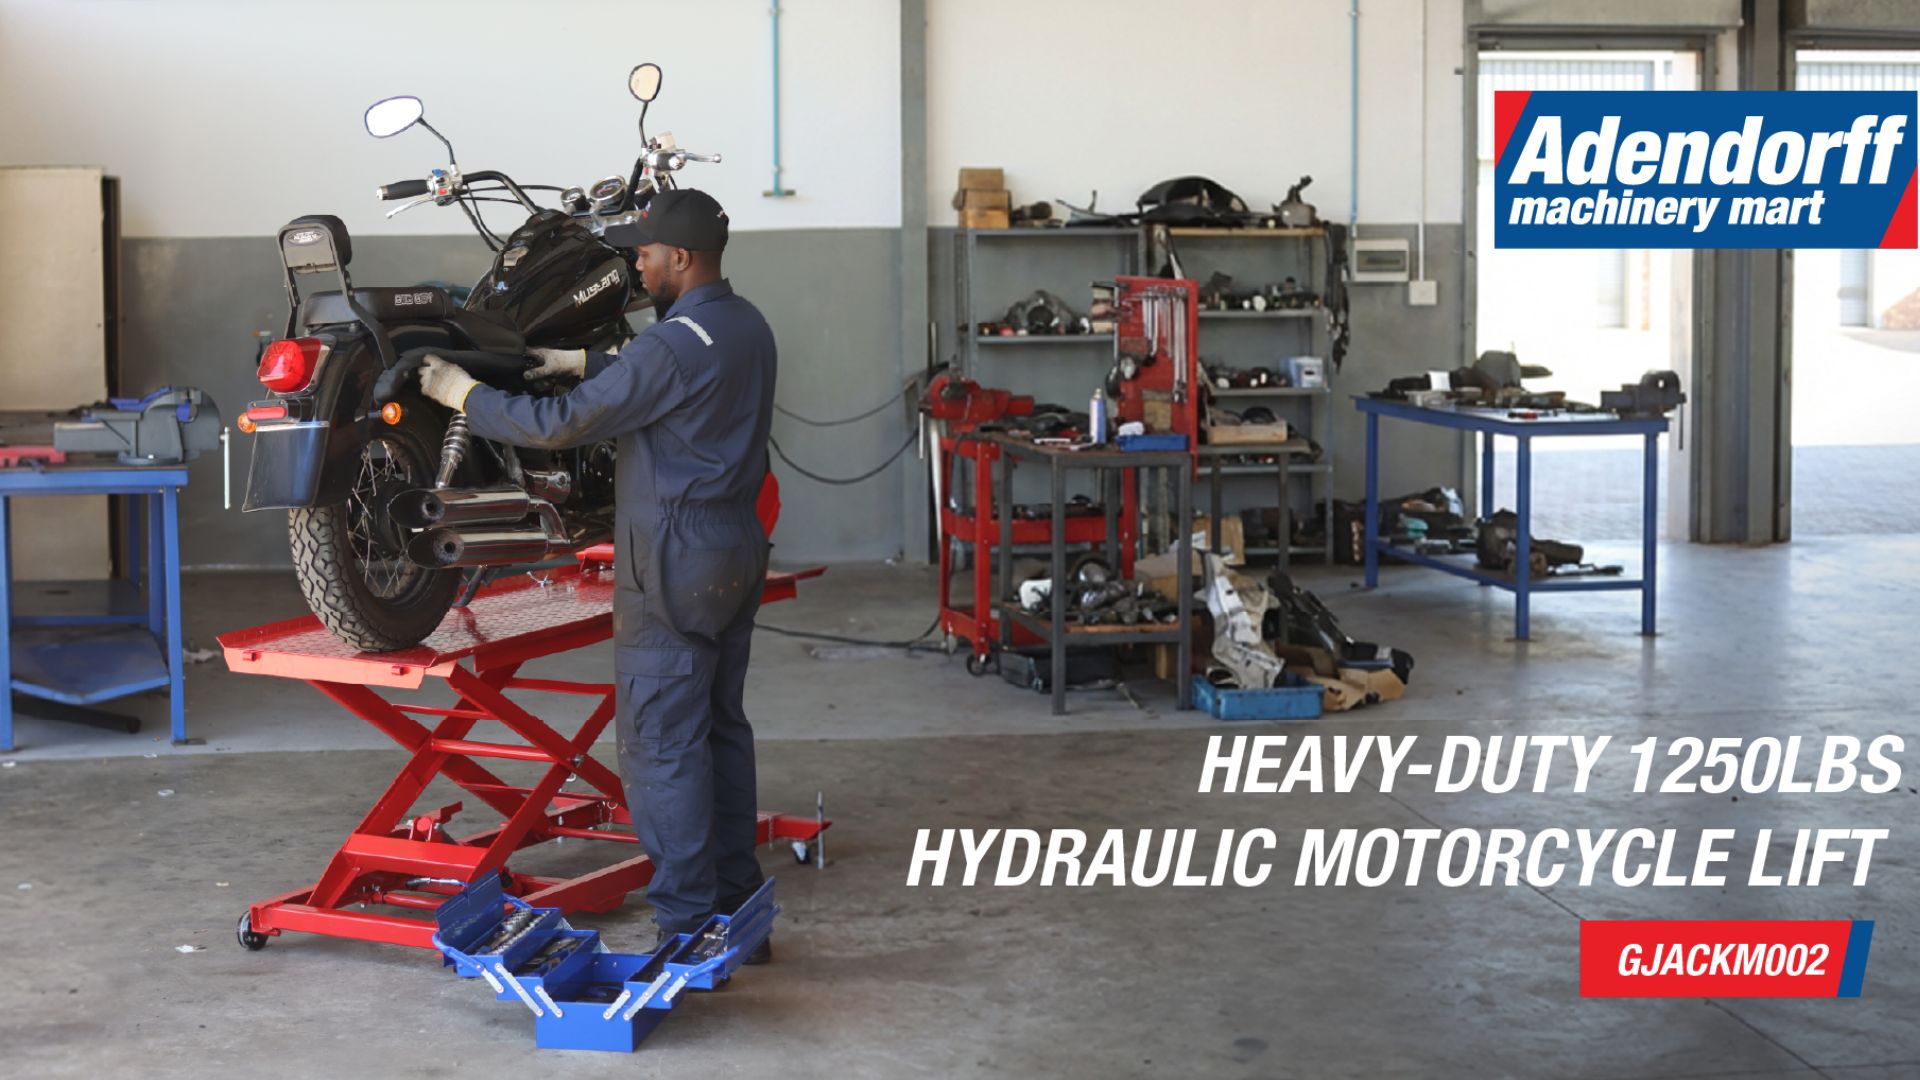
This manual covers the complete operating instructions for the MAC AFRIC 560KGS Hydraulic Motorcycle Lift (Model: GJACKM002). It contains essential information regarding safe operation, assembly, lifting and lowering procedures, maintenance, troubleshooting, parts identification, and warranty terms. Please read this manual carefully before use and keep it in a safe, accessible place for all operators.
Taking the time to familiarise yourself with the product will help you maximise its performance and ensure a smooth, trouble-free experience. If you have any questions or require assistance, please don't hesitate to contact our support team.
What You'll Learn in This Manual
Product Introduction
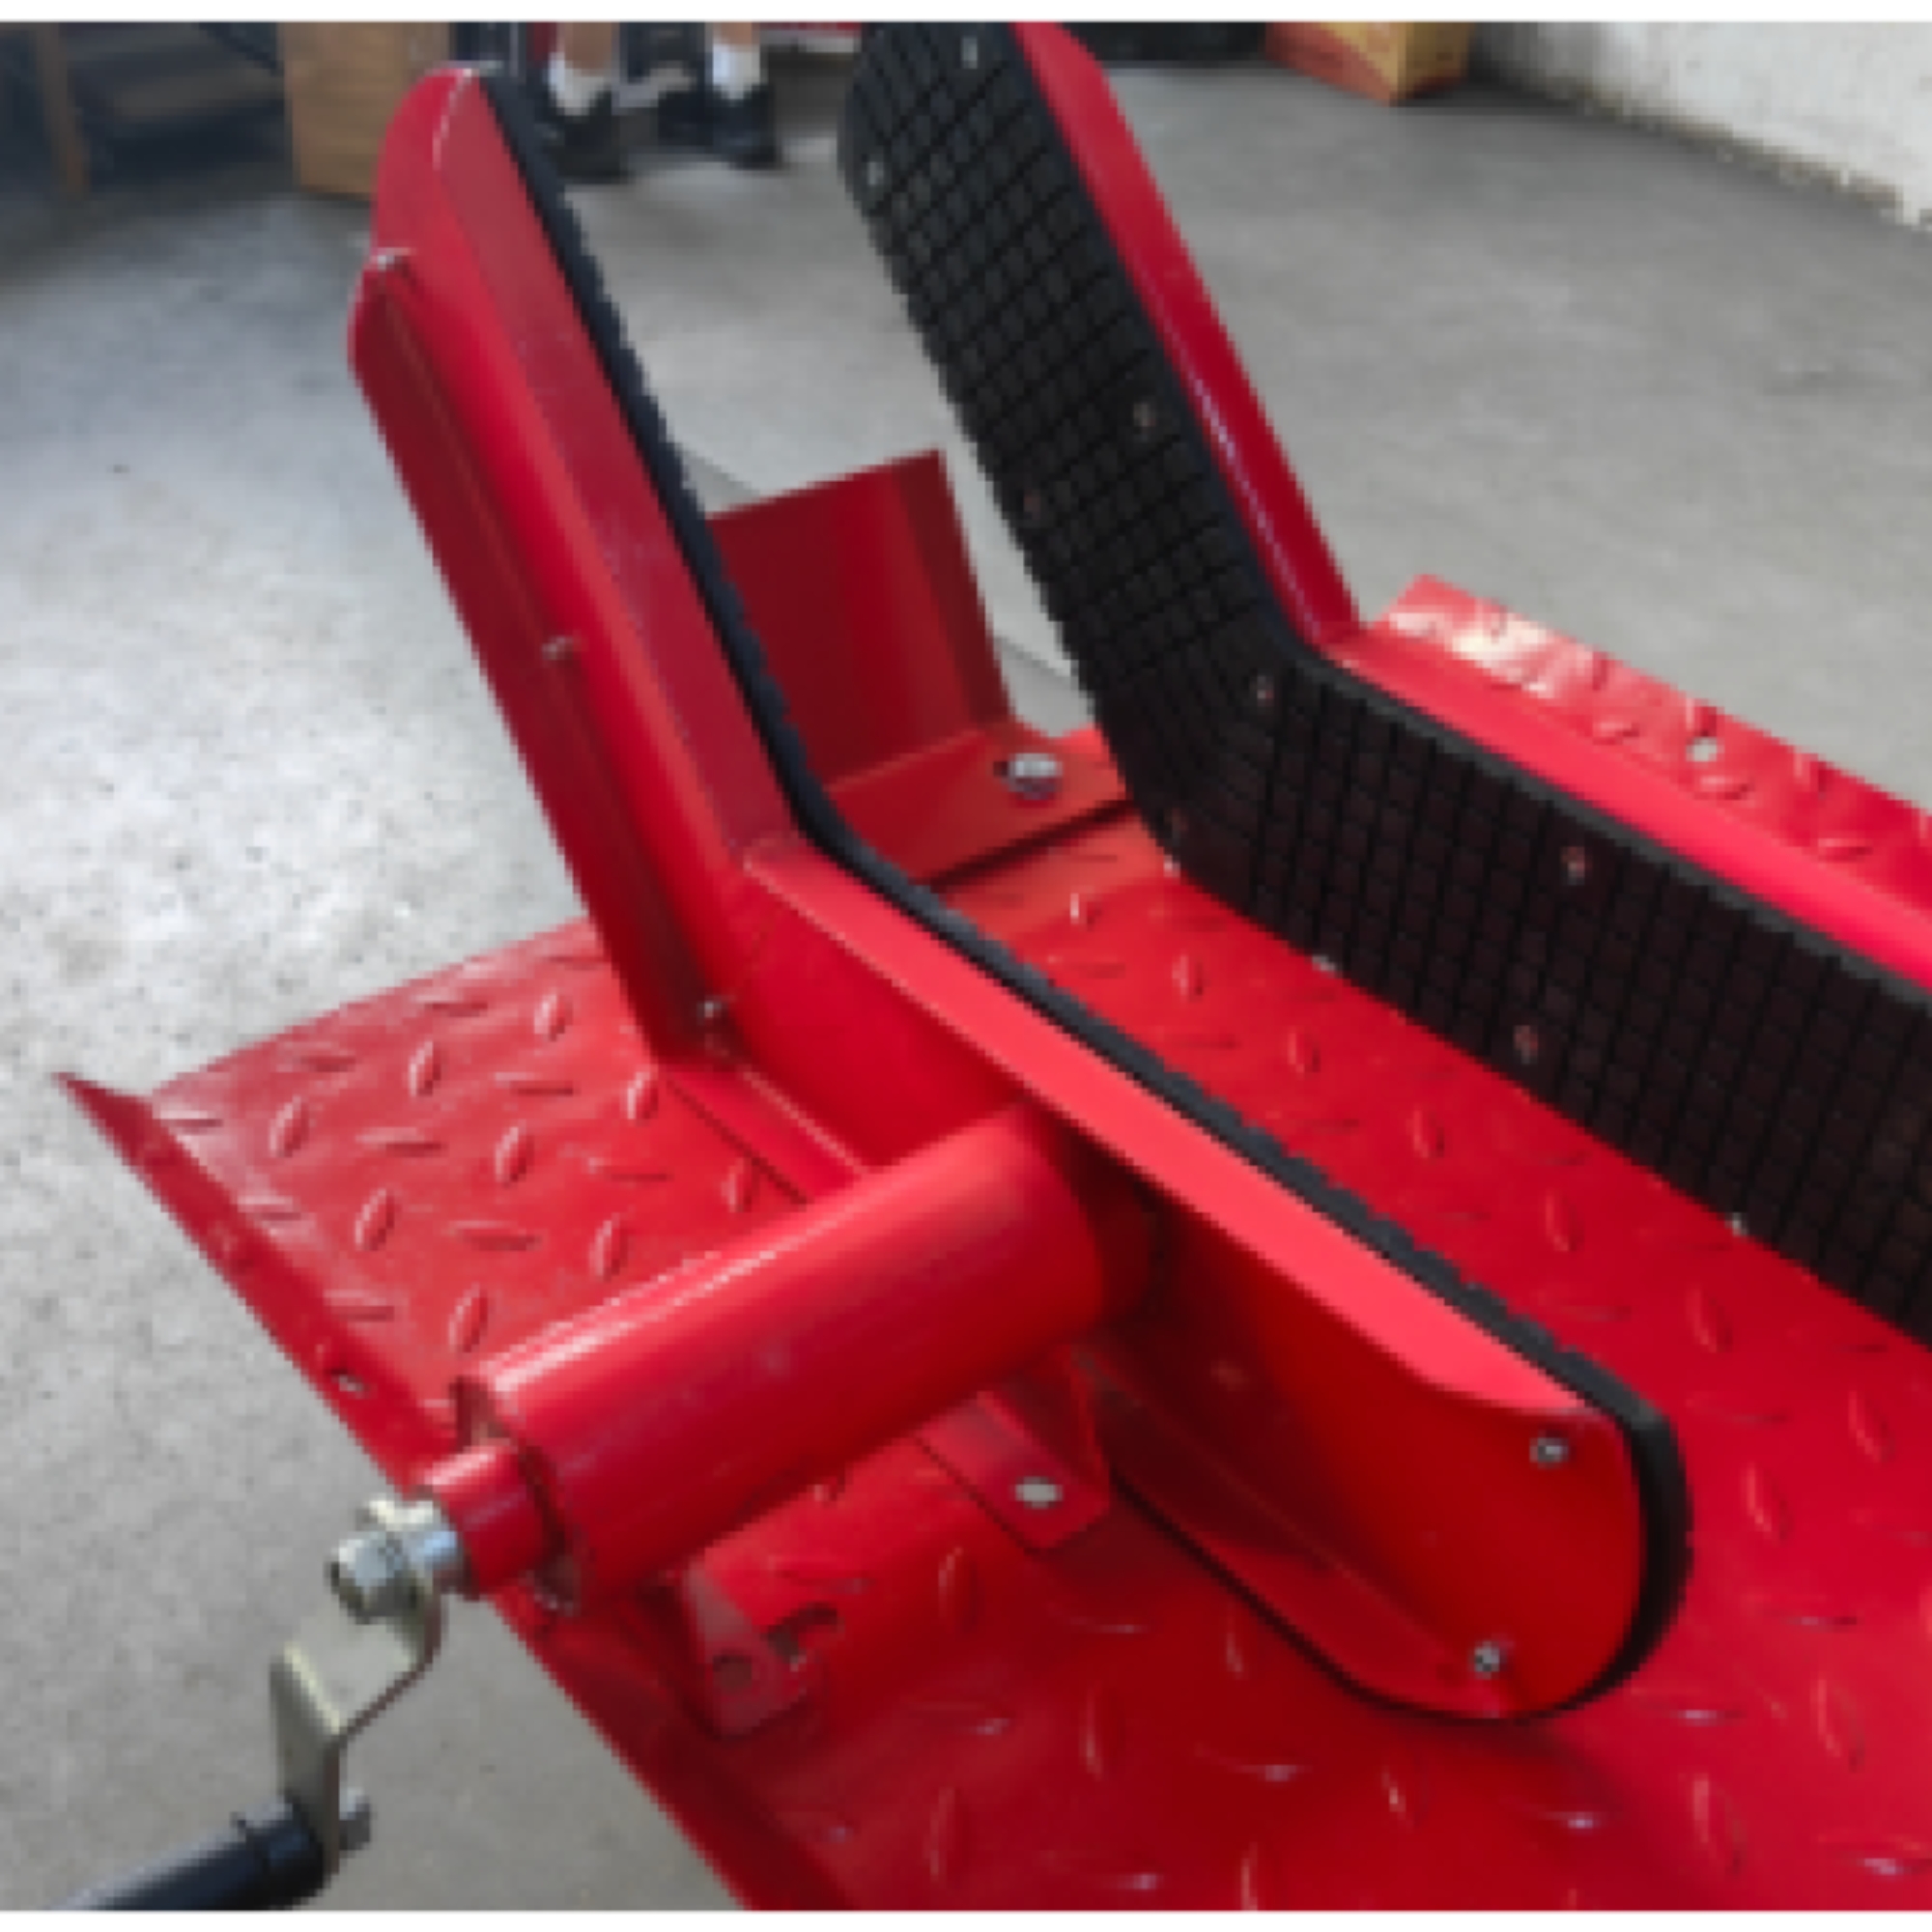
The MAC AFRIC 560 kg Hydraulic Motorcycle Lift is designed for the maintenance and repair of small- and medium-displacement motorcycles. It features a standard front-wheel clamp with adjustable sizing, suitable for most motorcycle tyres.
Maximum Lifting Height
76 cm
Safe Working Capacity
560 kg
Platform Length
180 cm
Platform Width
56 cm
Safety Warnings
- Check for oil leakage before use.
- Never exceed the ramps' specified lifting capacity.
- Inspect the ramps for damage or defects before every use.
- Always position the ramps on a stable, horizontal surface.
- Adjust the clamping jaw width according to the tyre size.
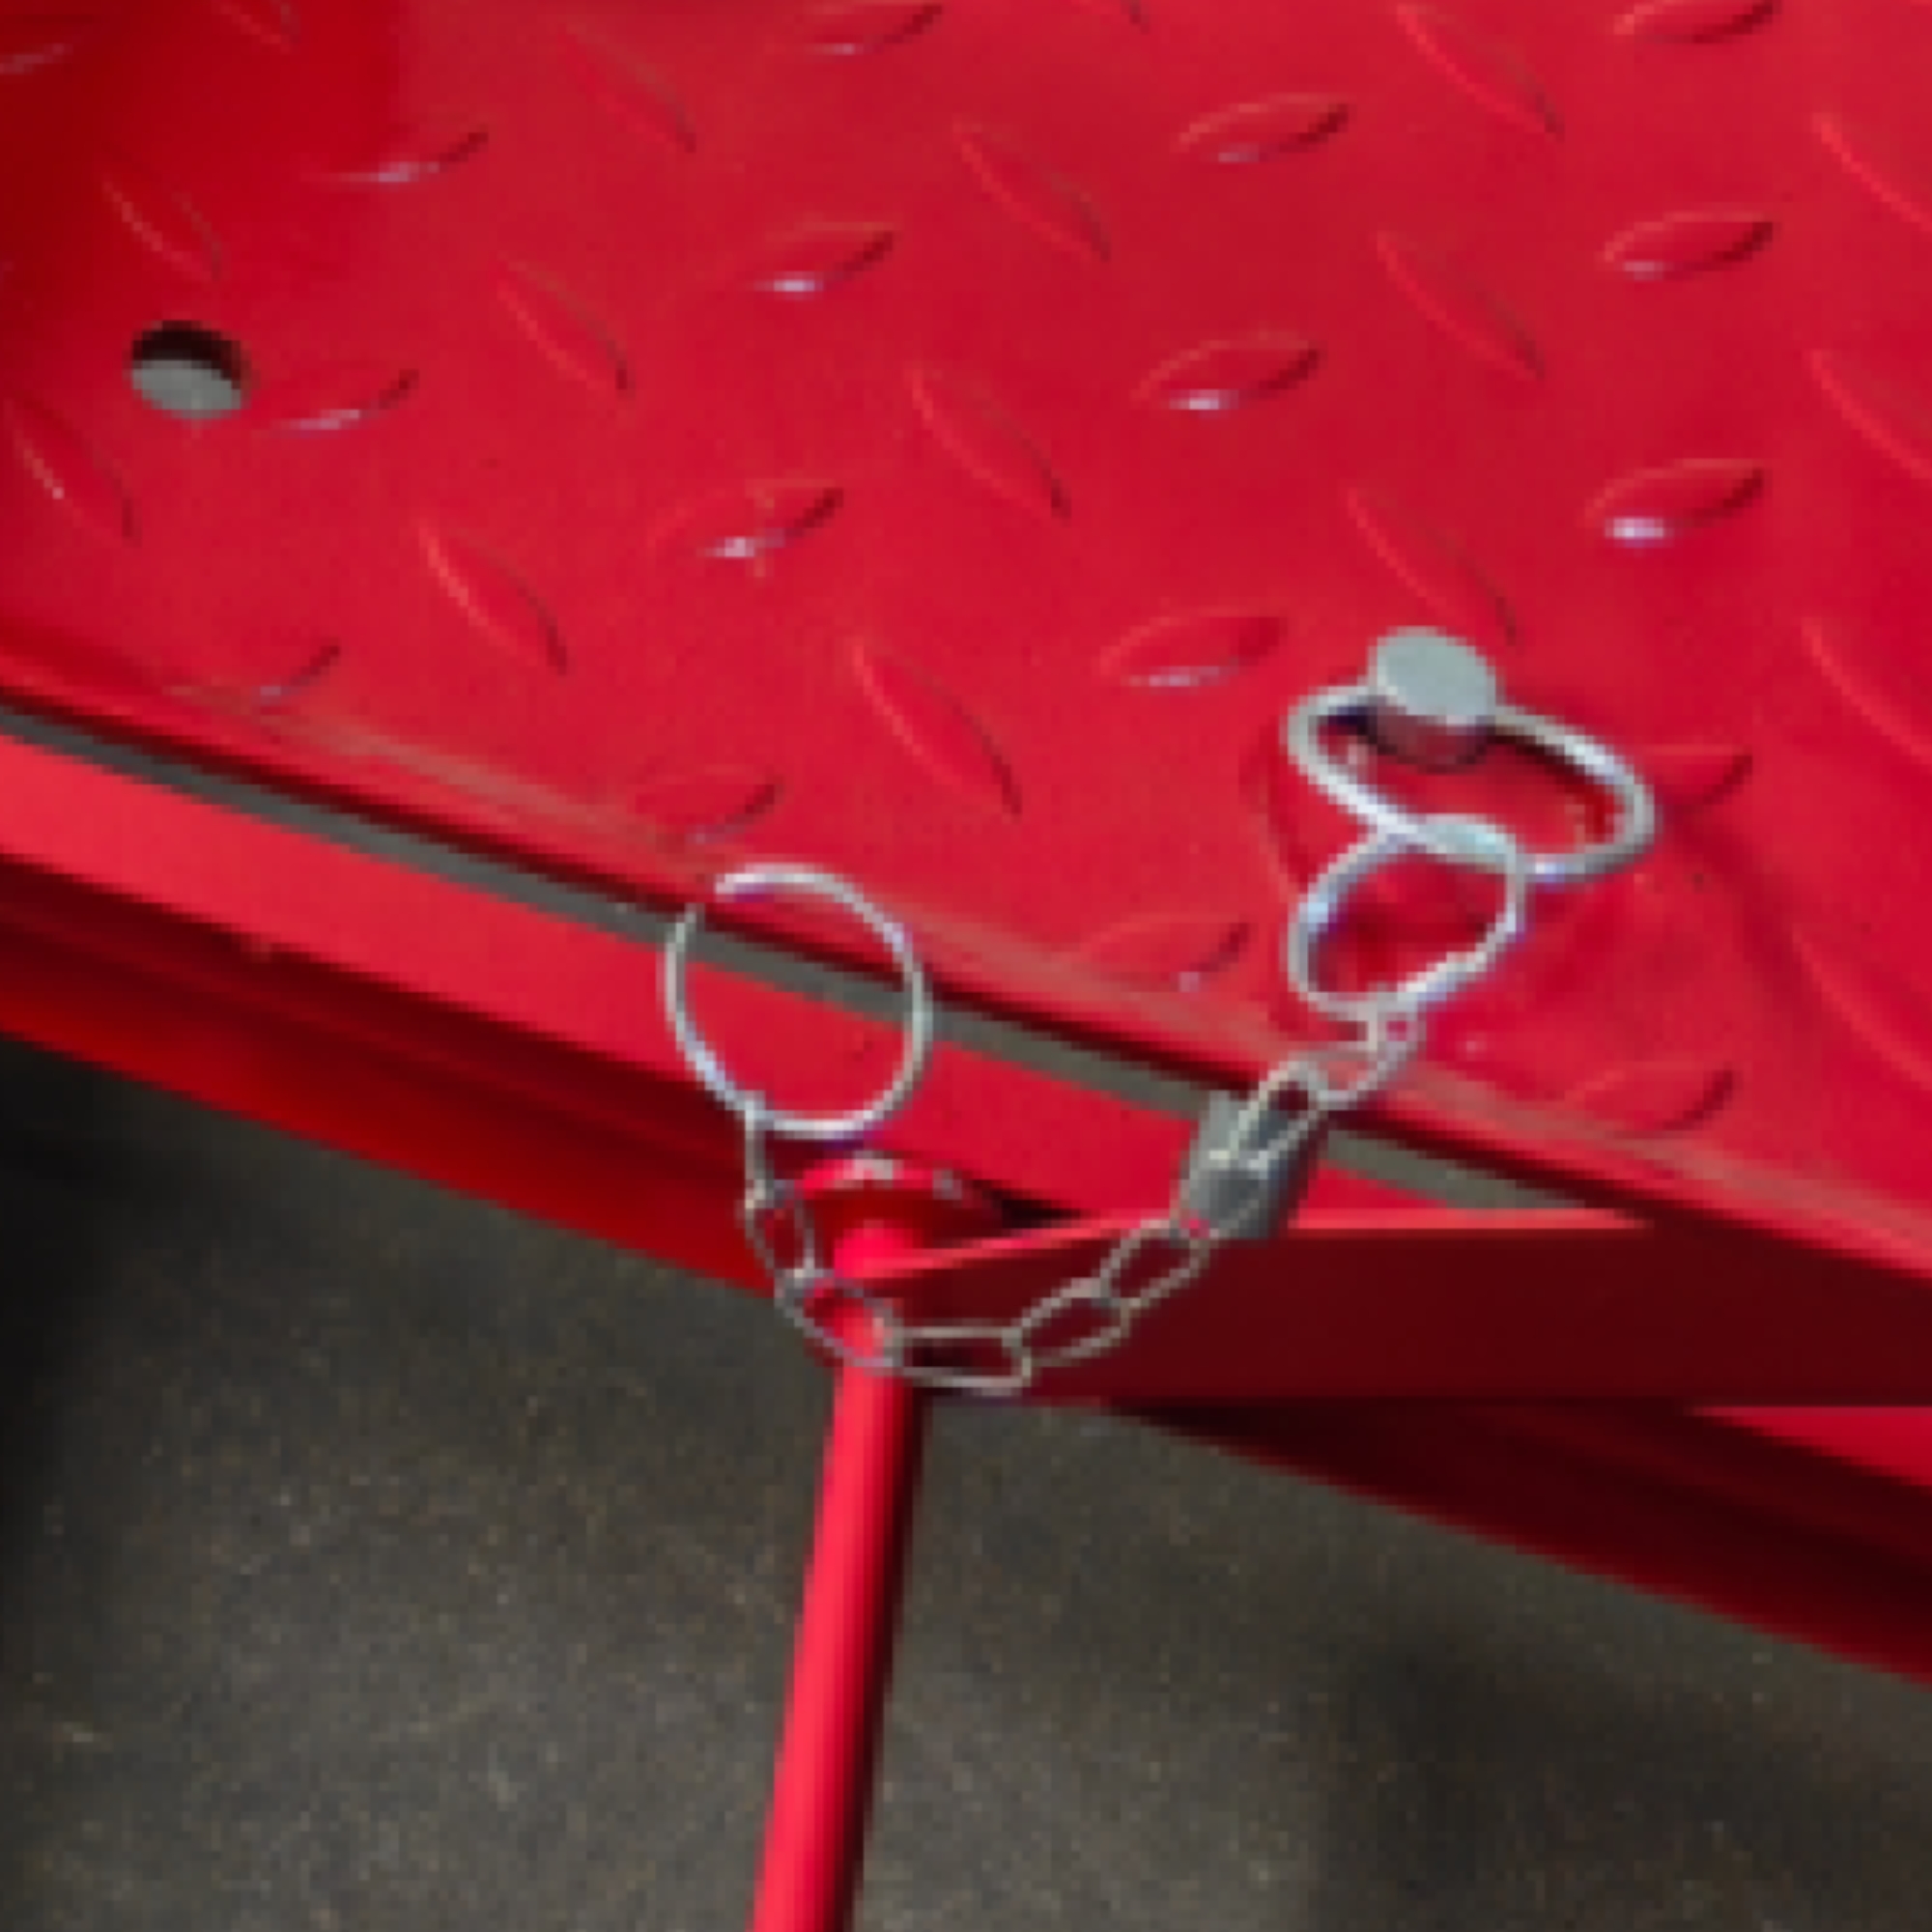
- Securely insert the safety pin after lifting is complete.
- Pull out the pin and lower the lifting platform slowly. Be careful to stay clear of the scissor lifting mechanism to avoid hand injuries.
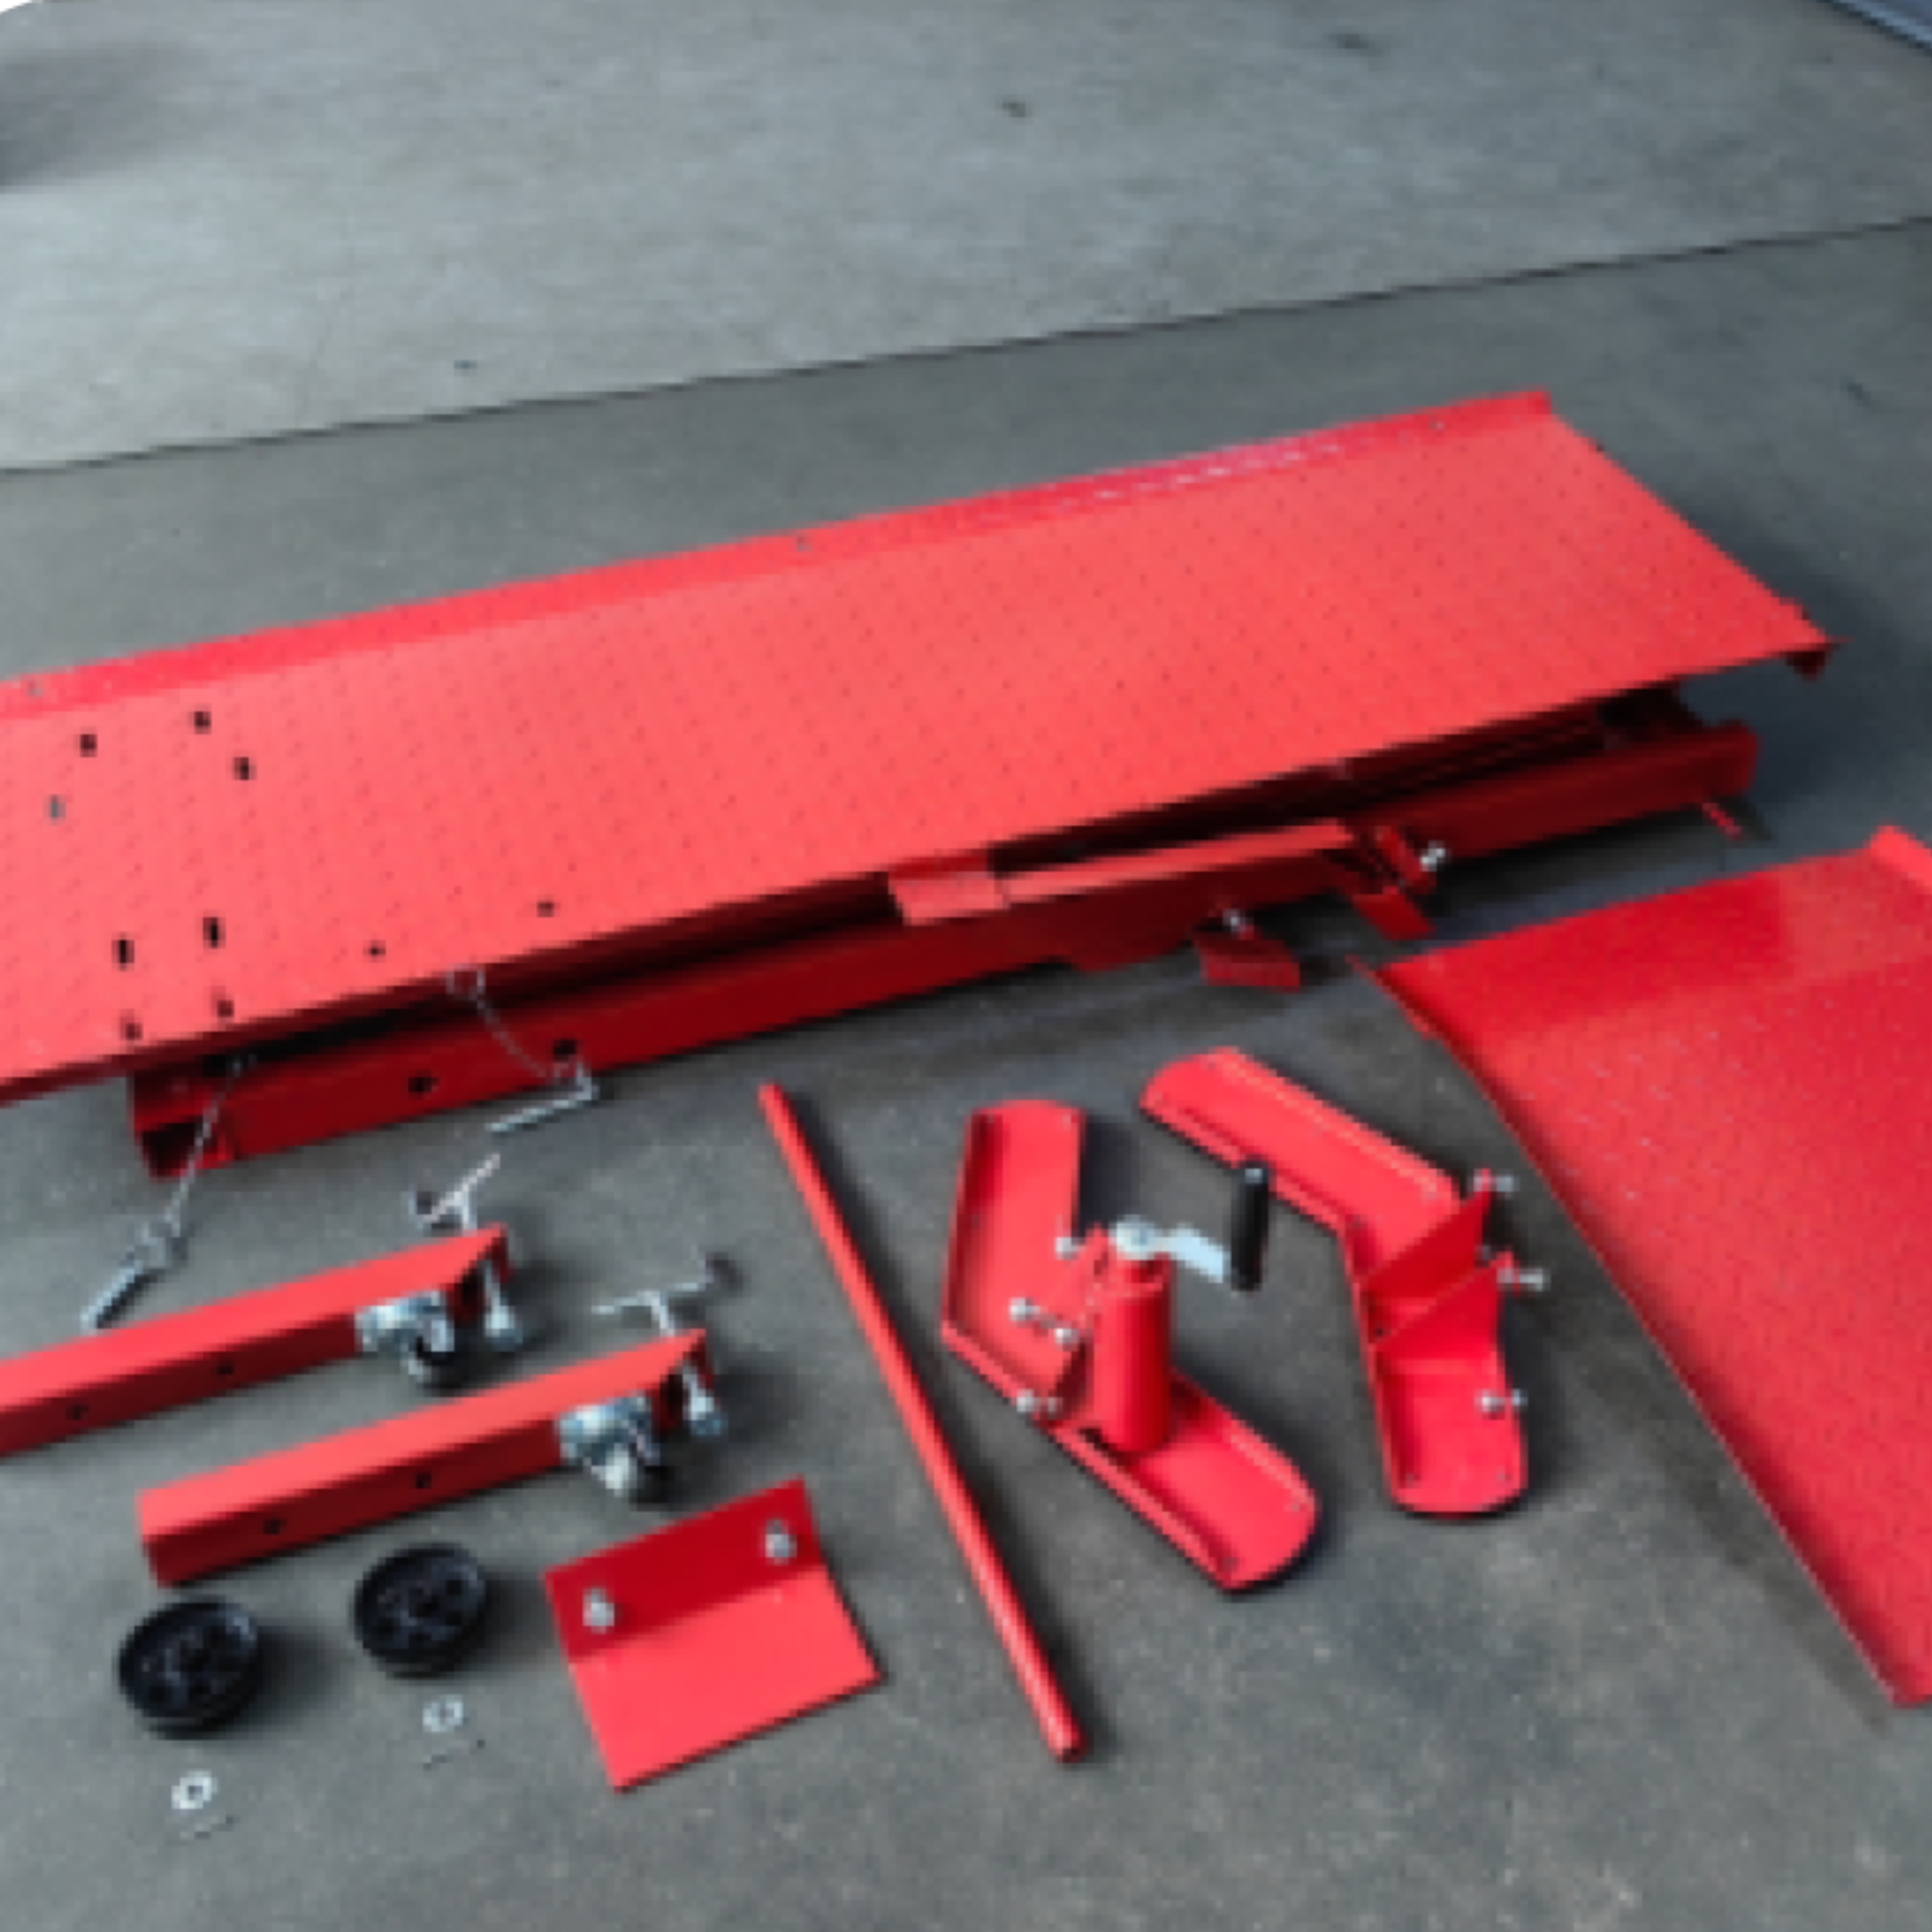
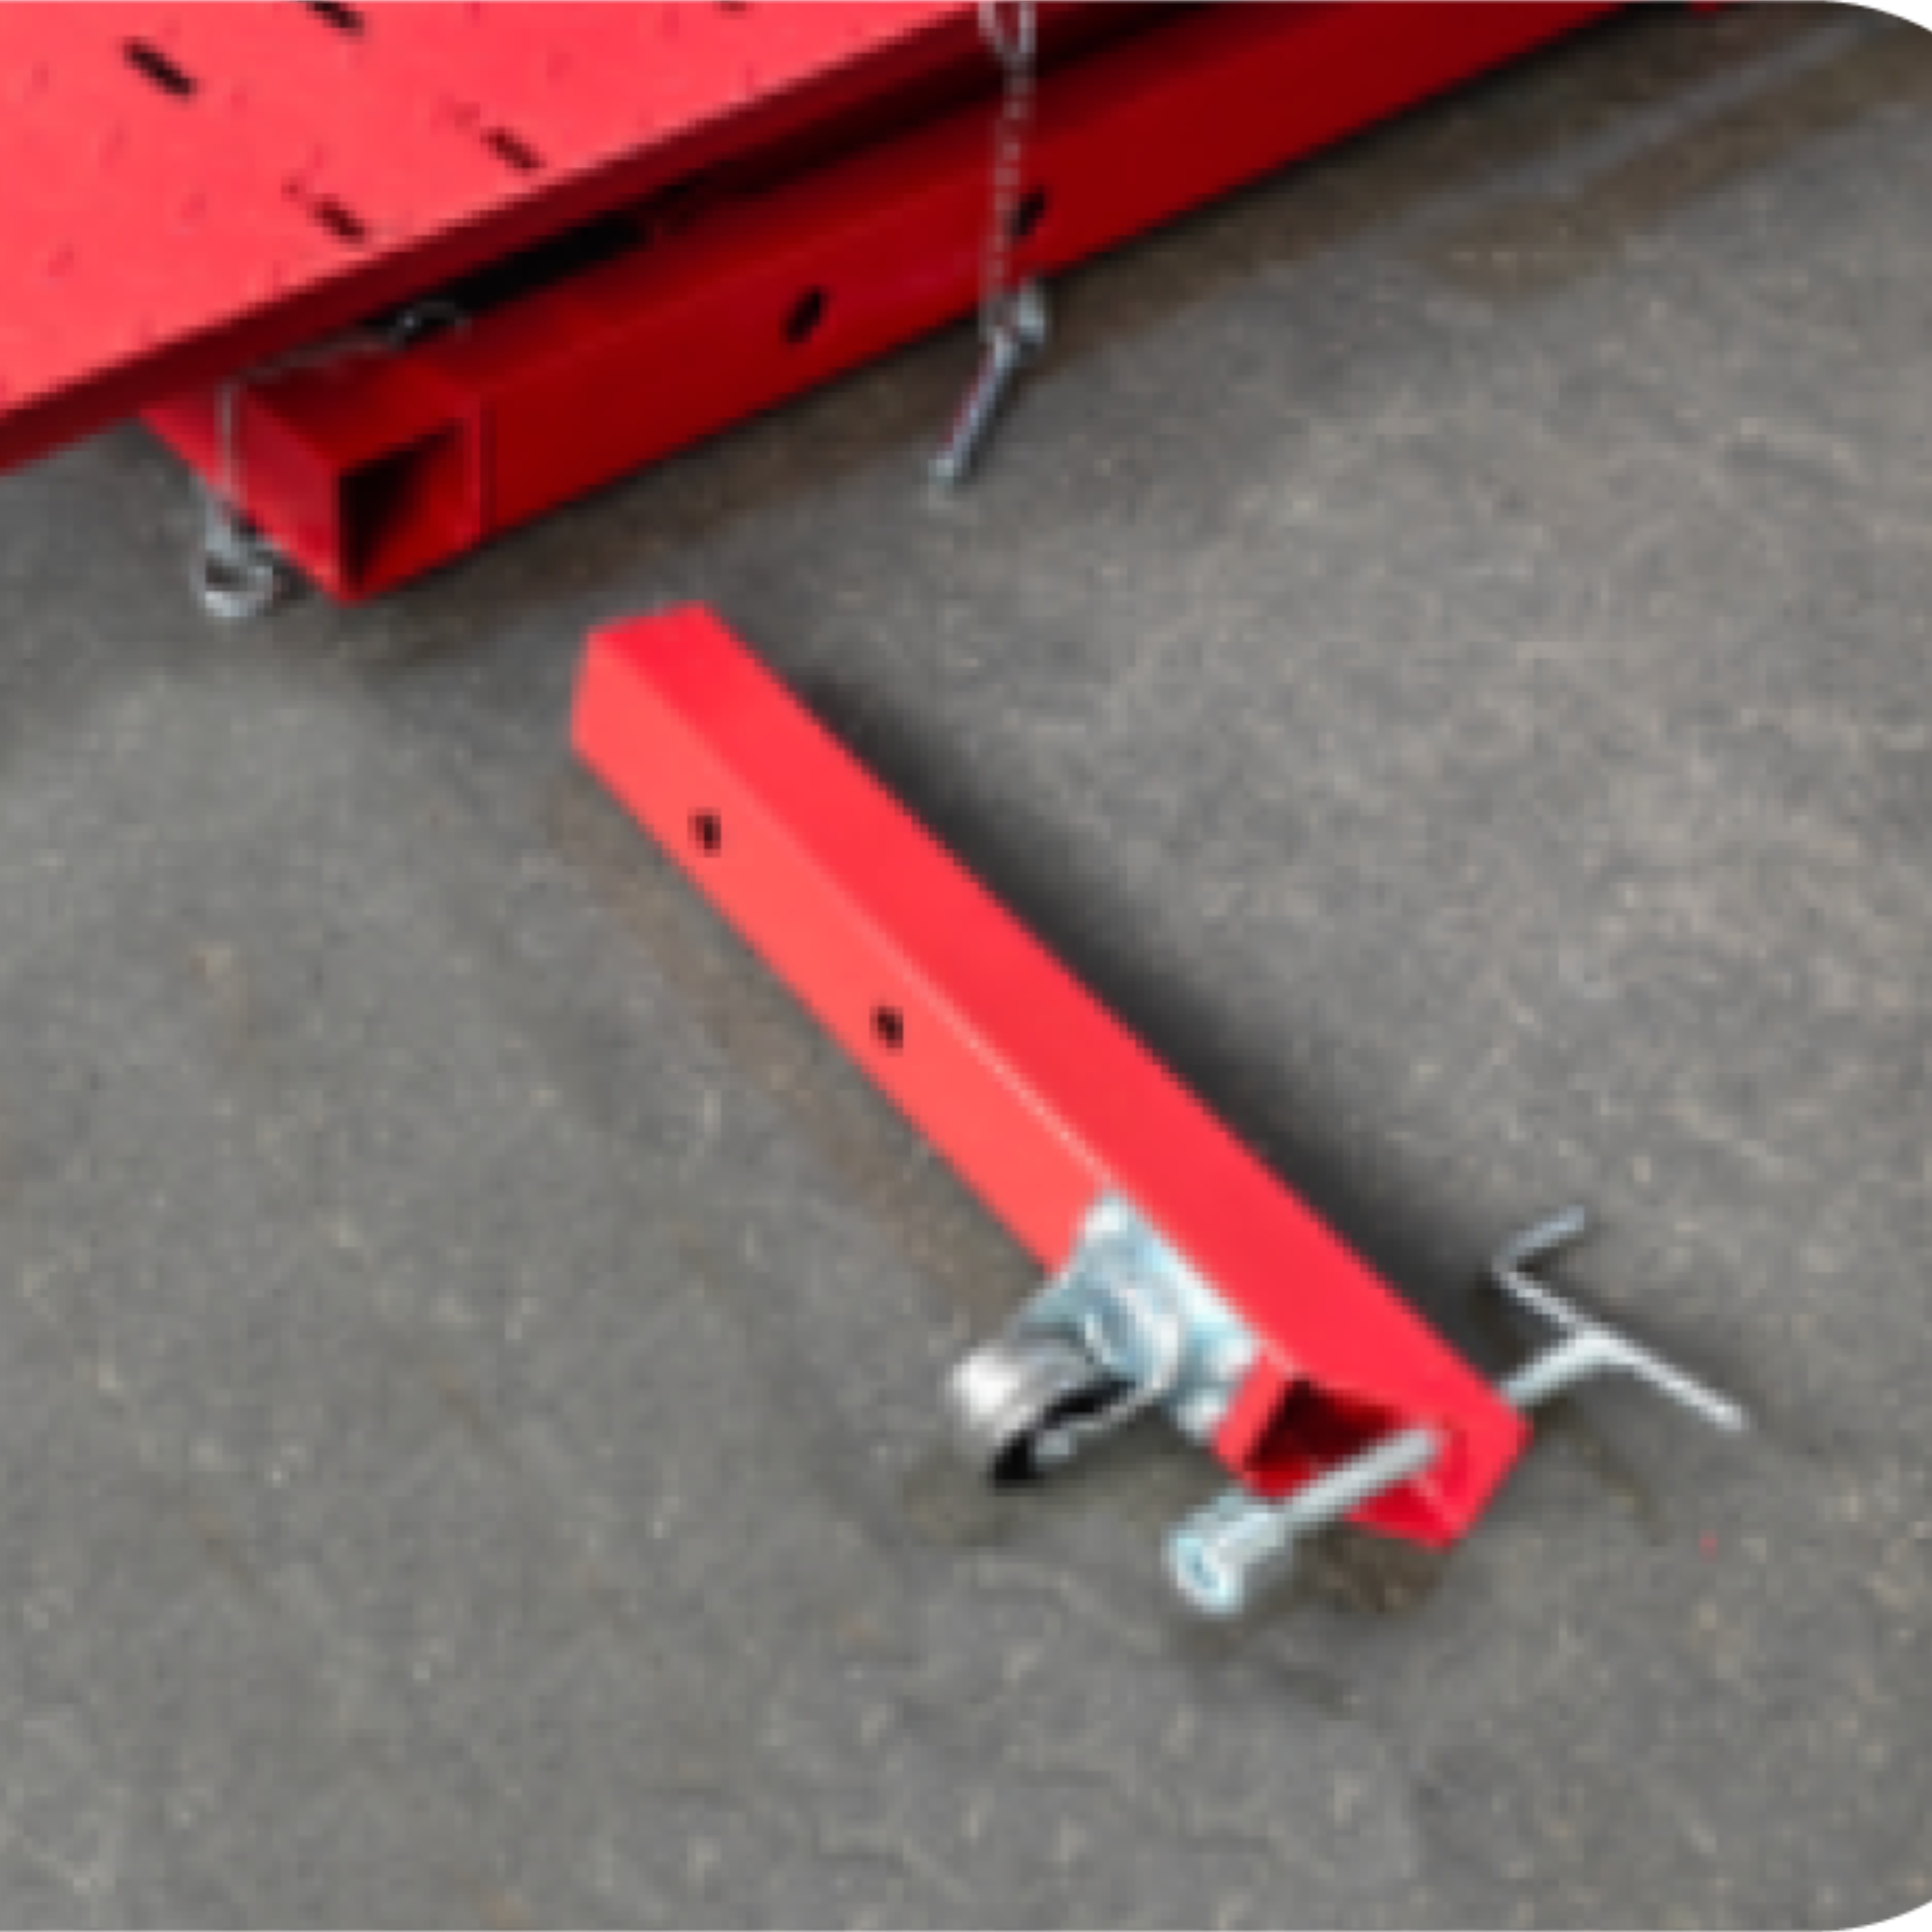
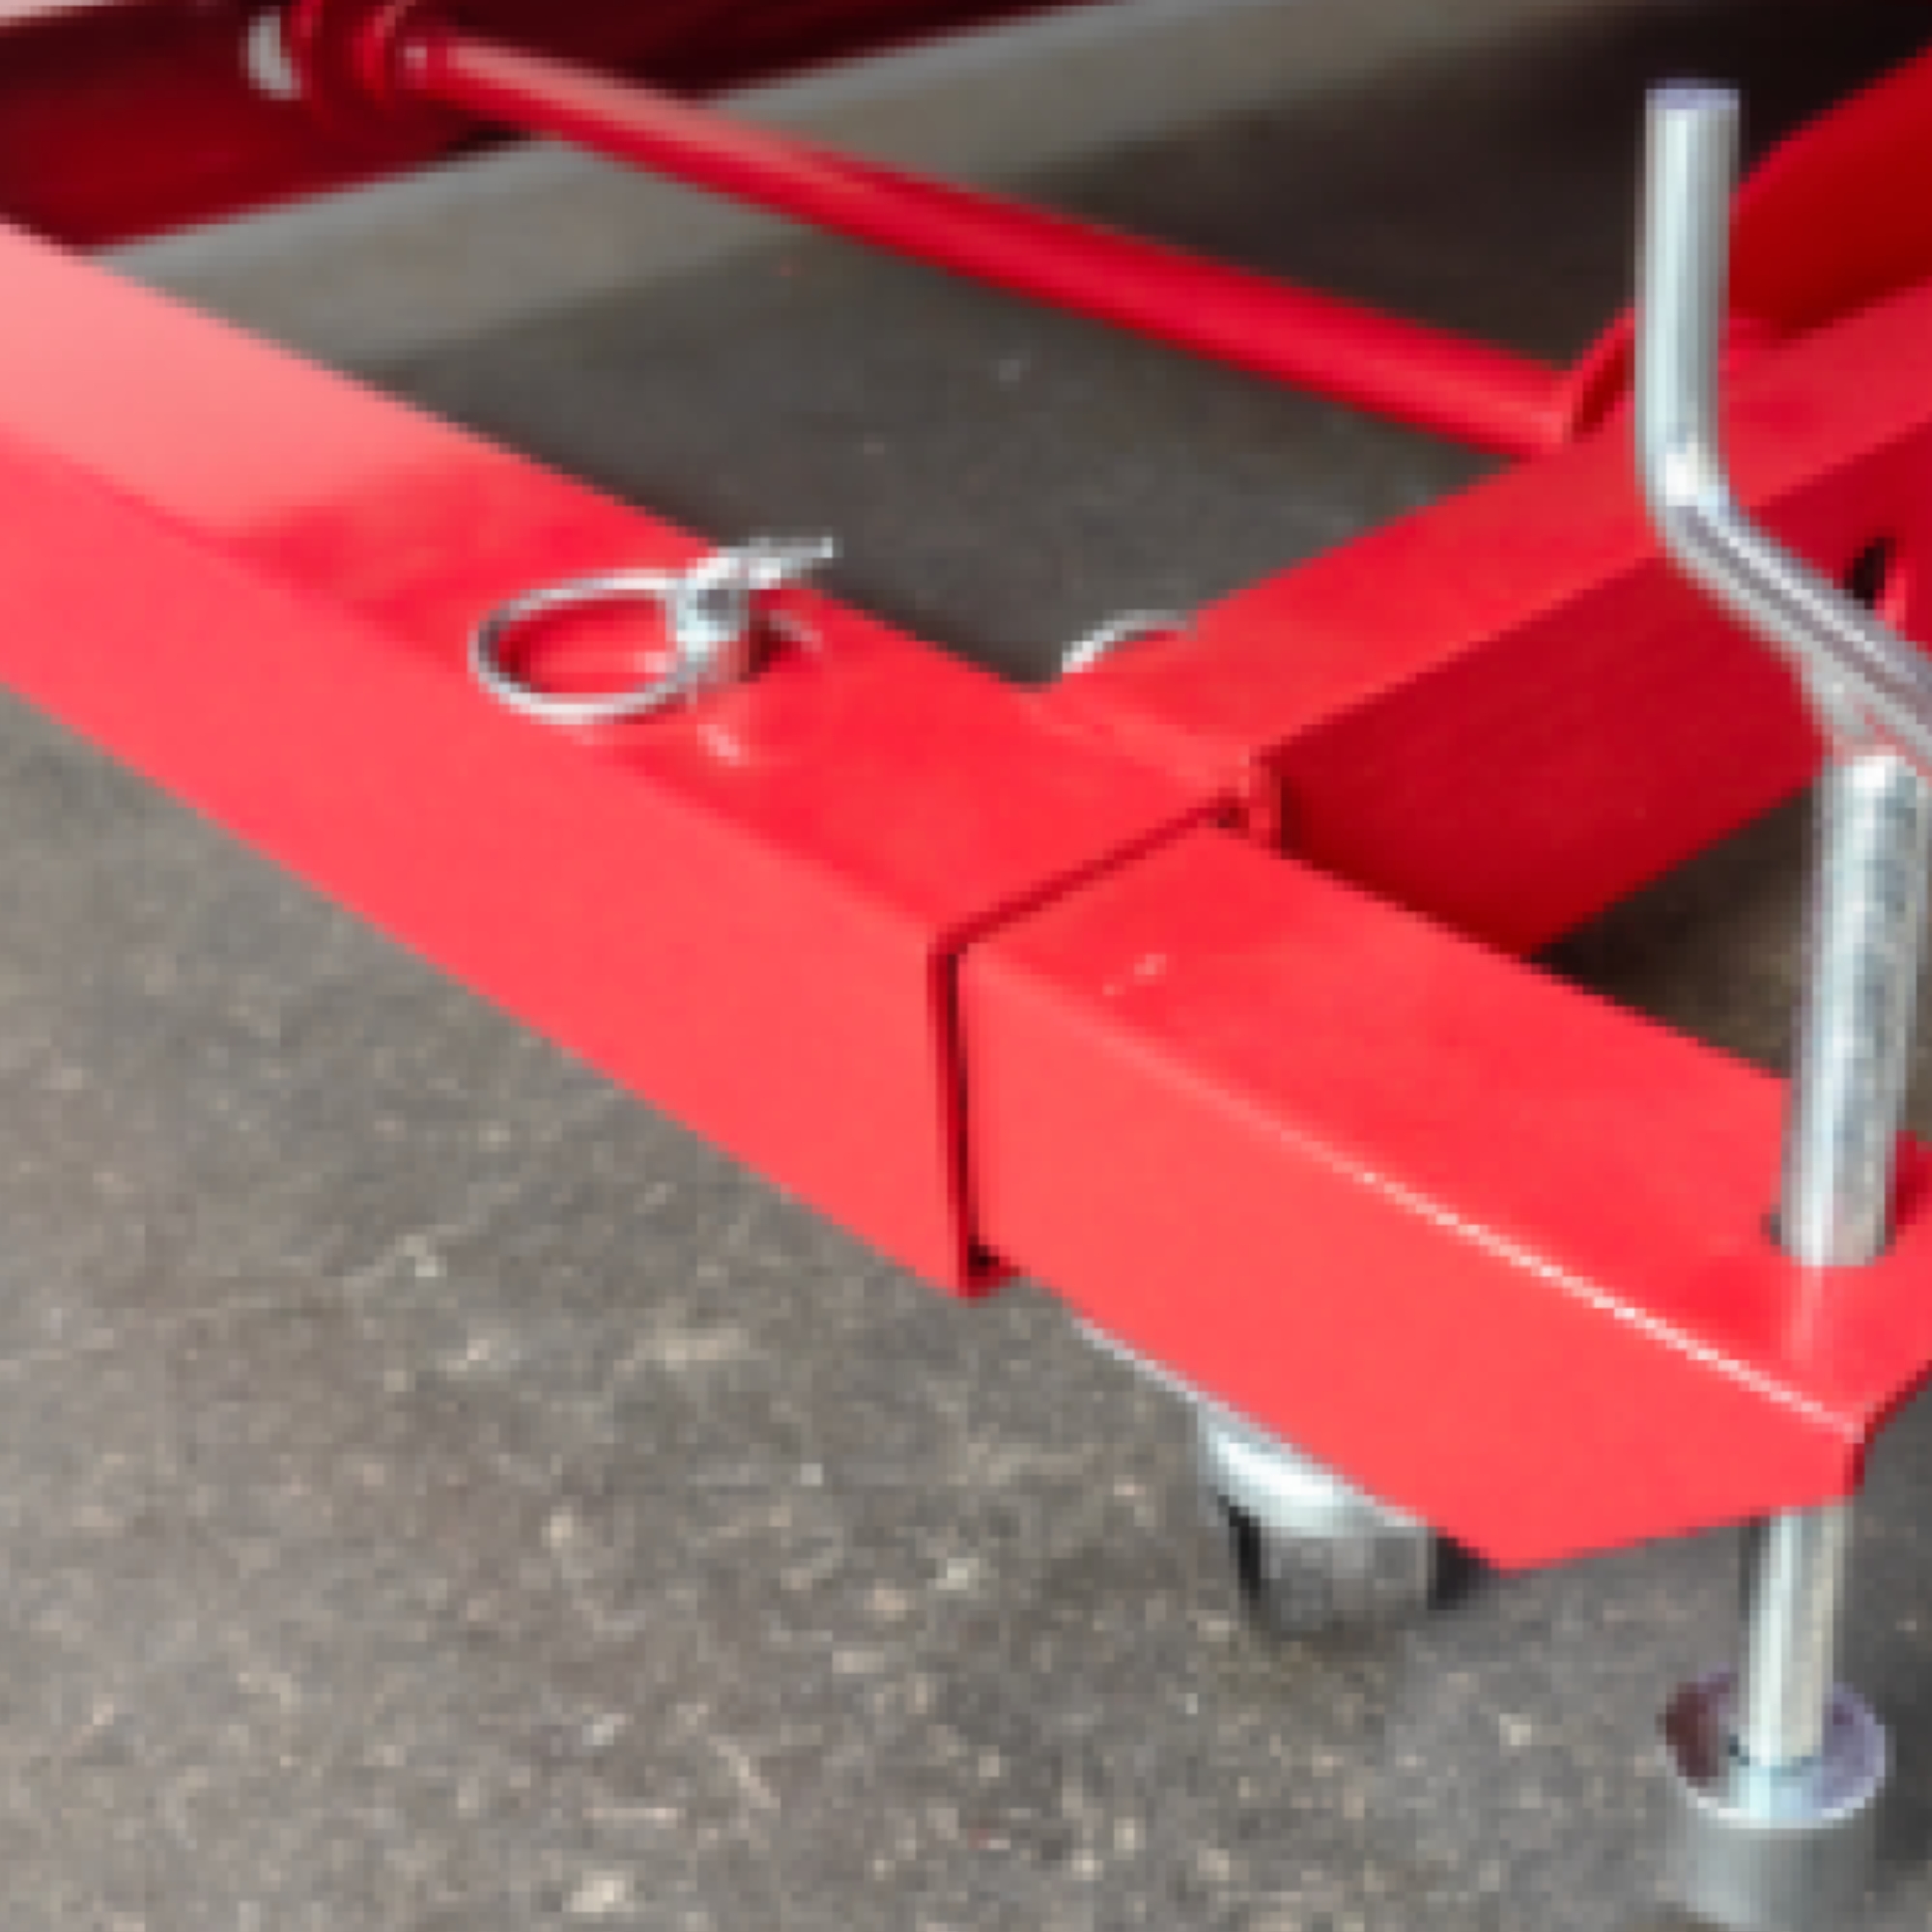
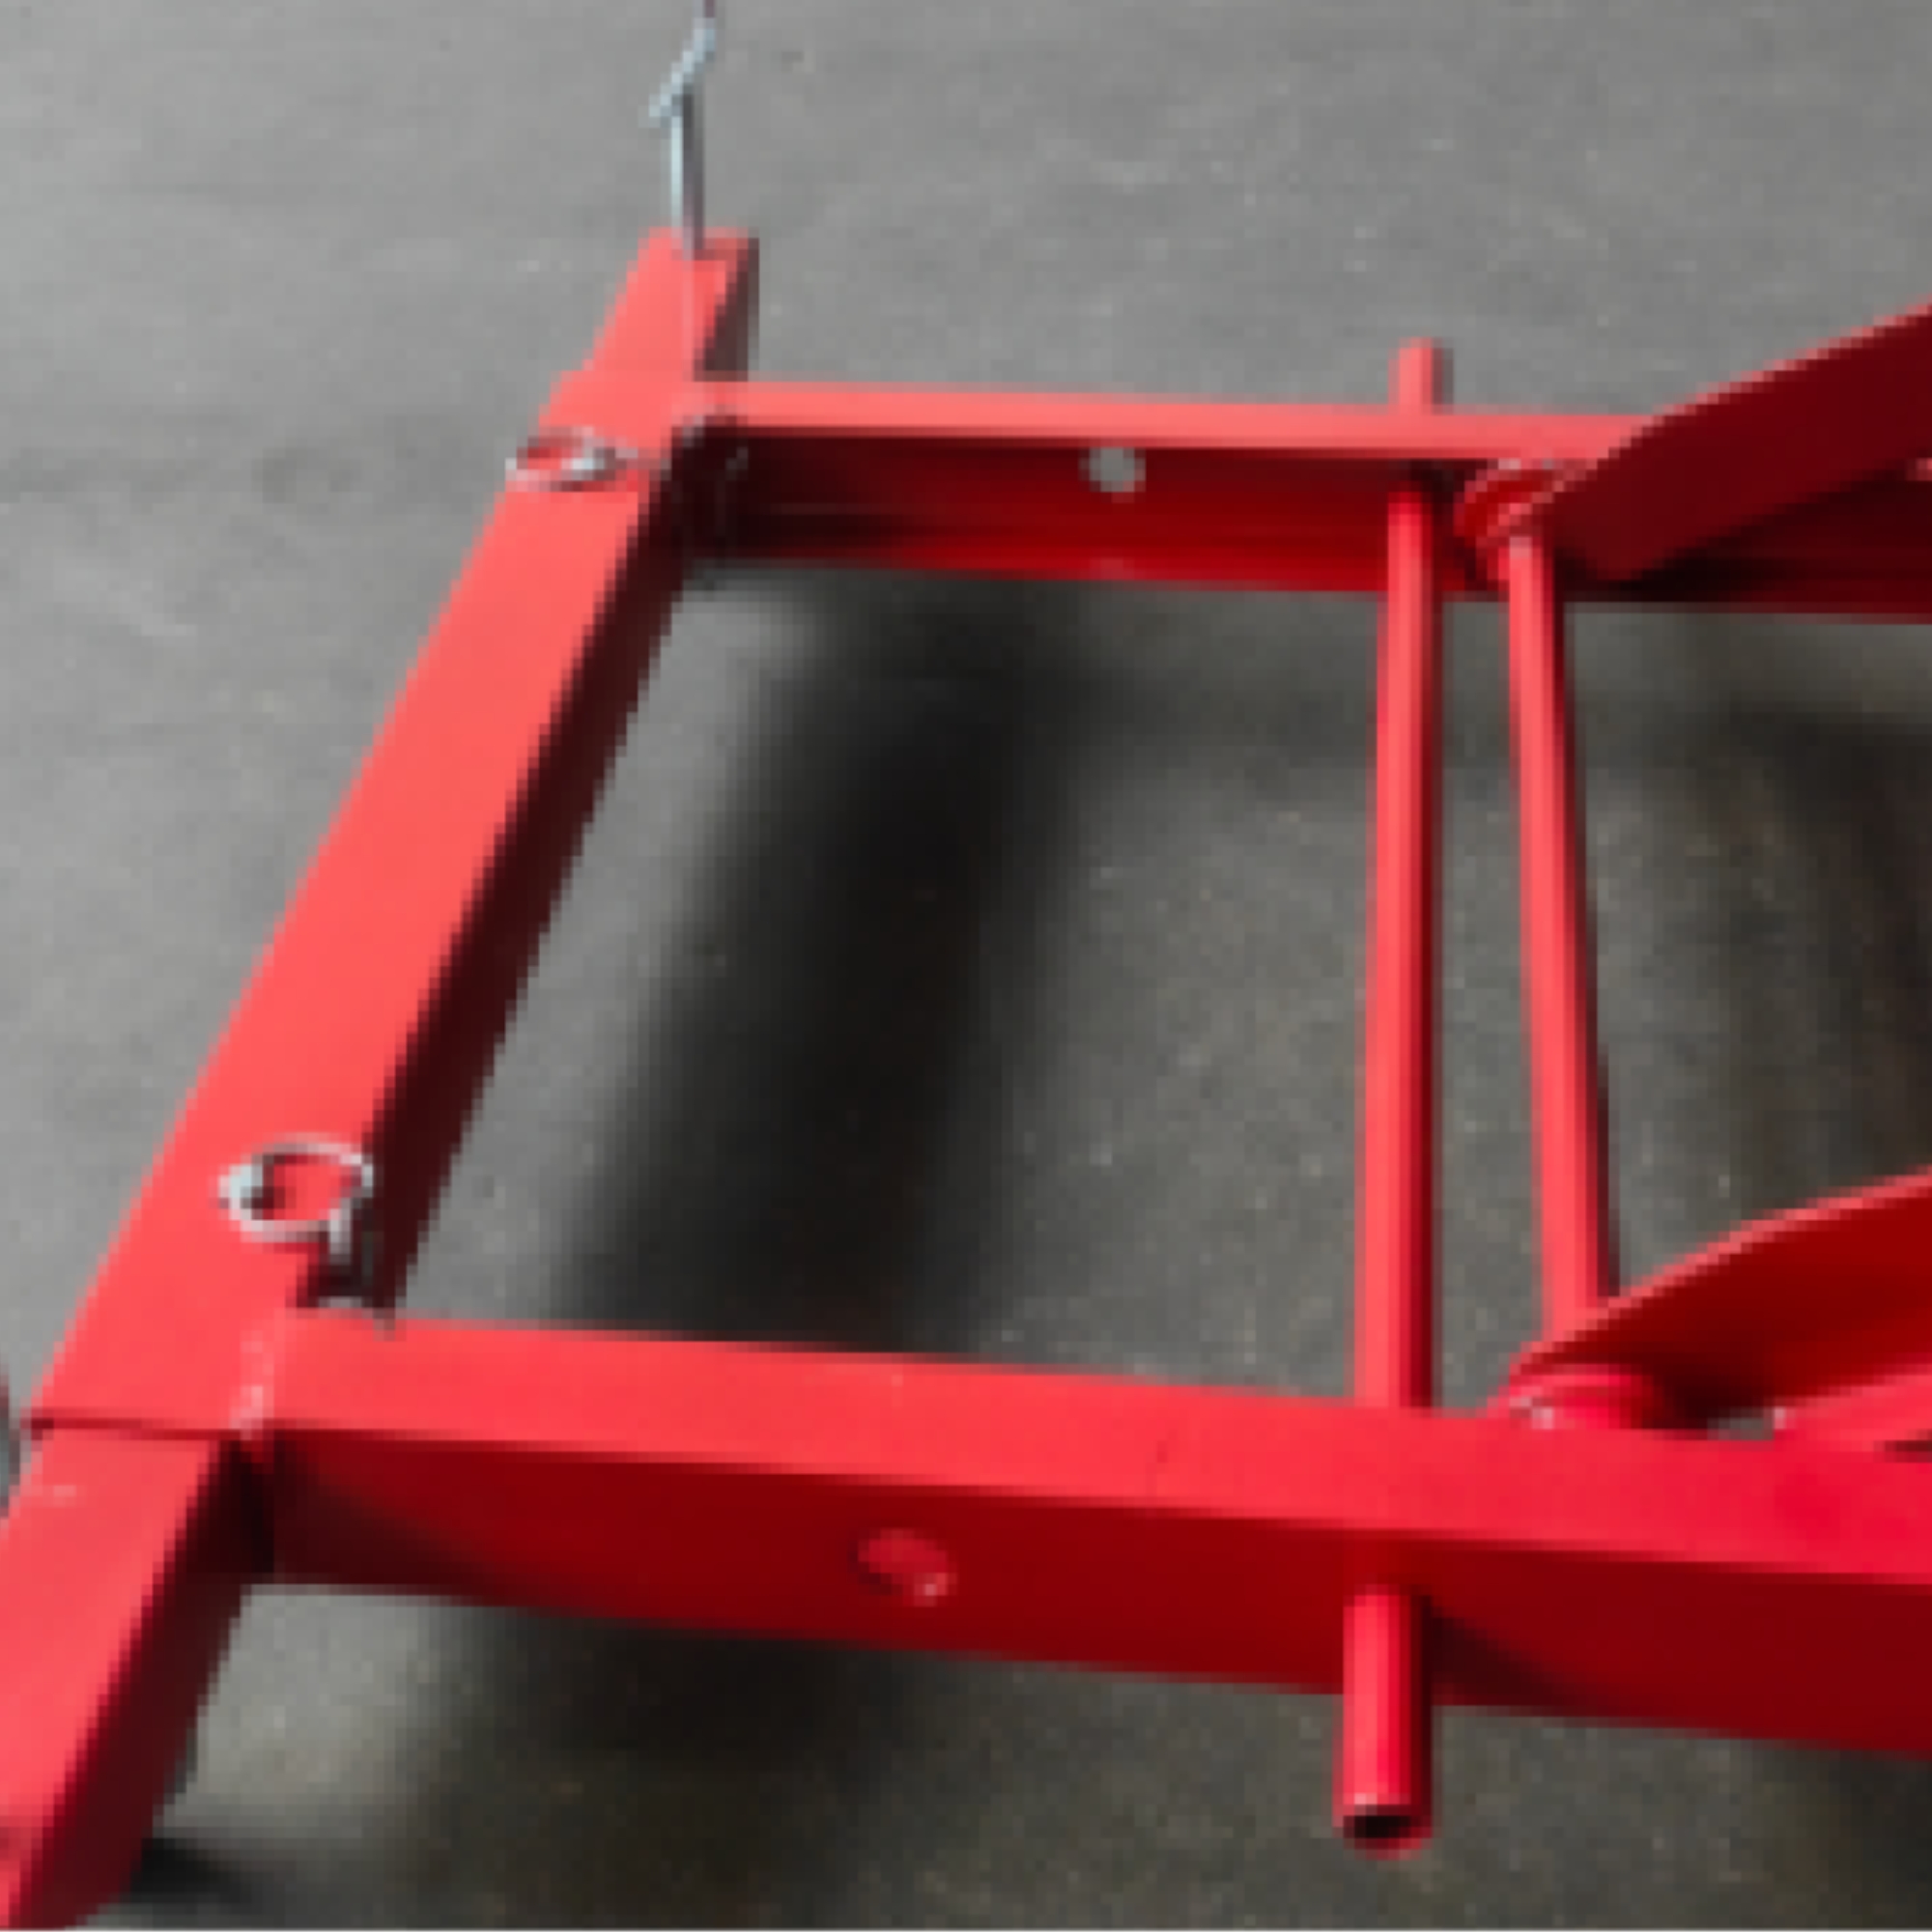
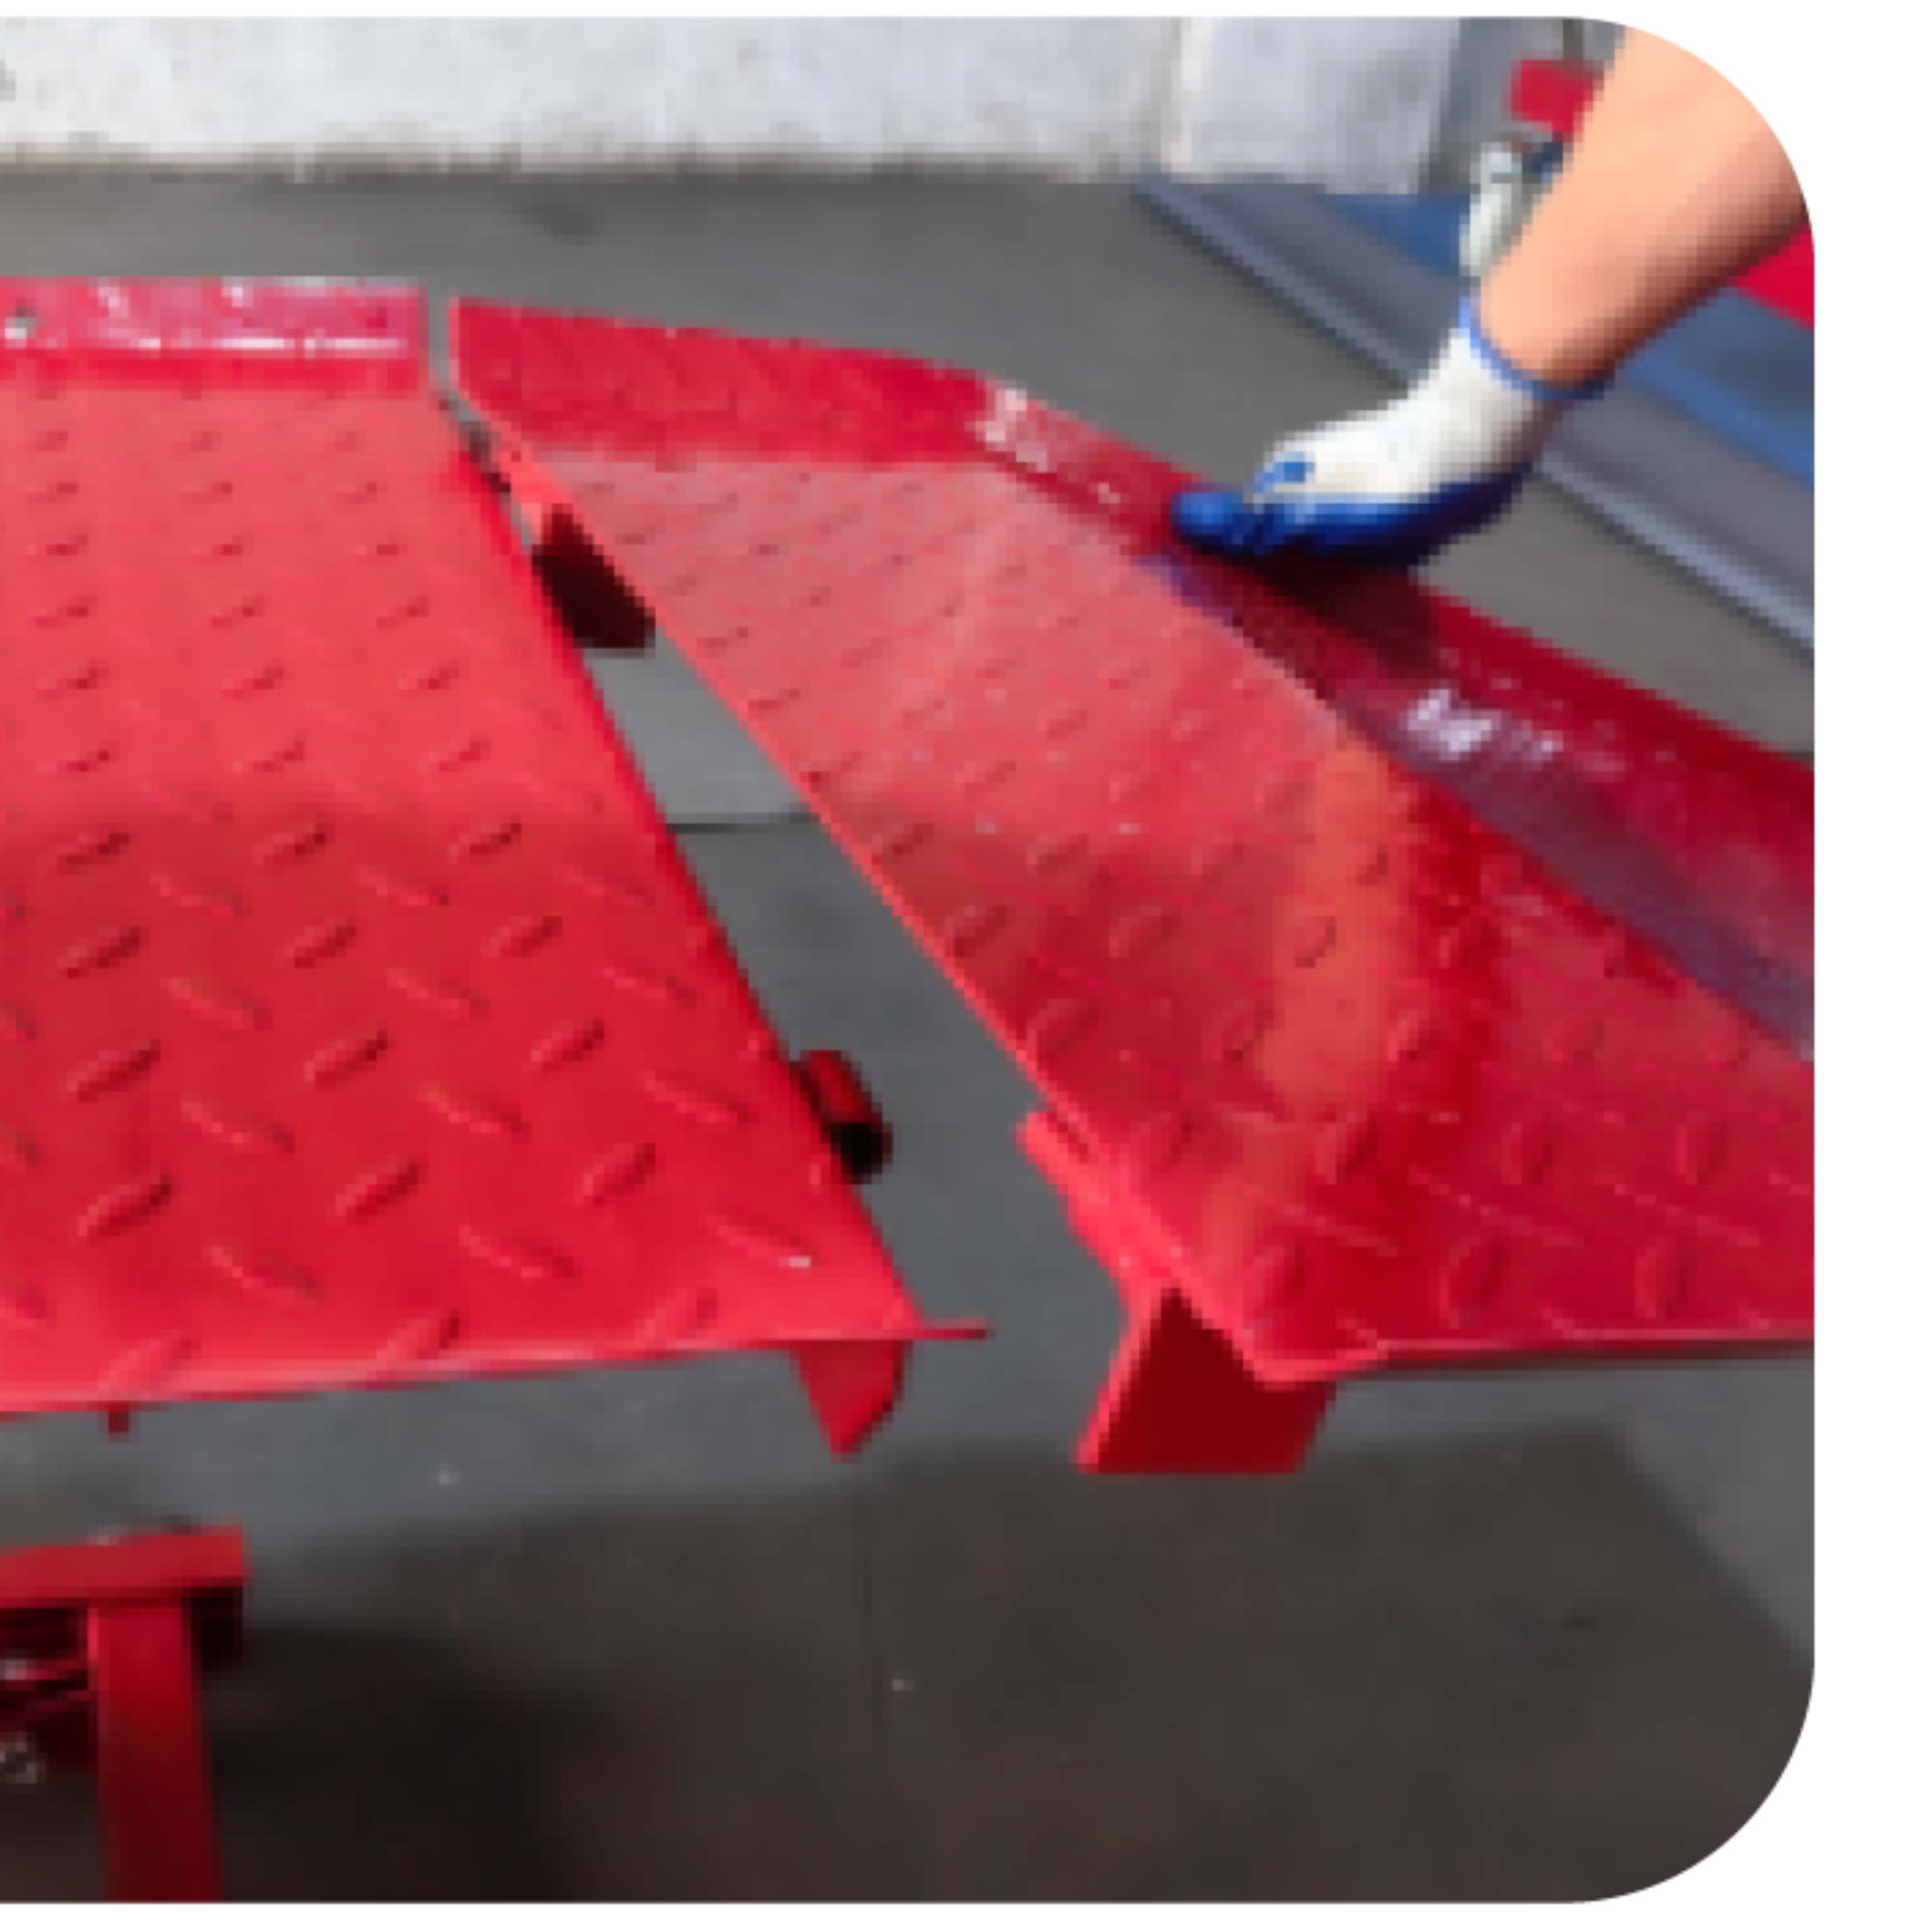
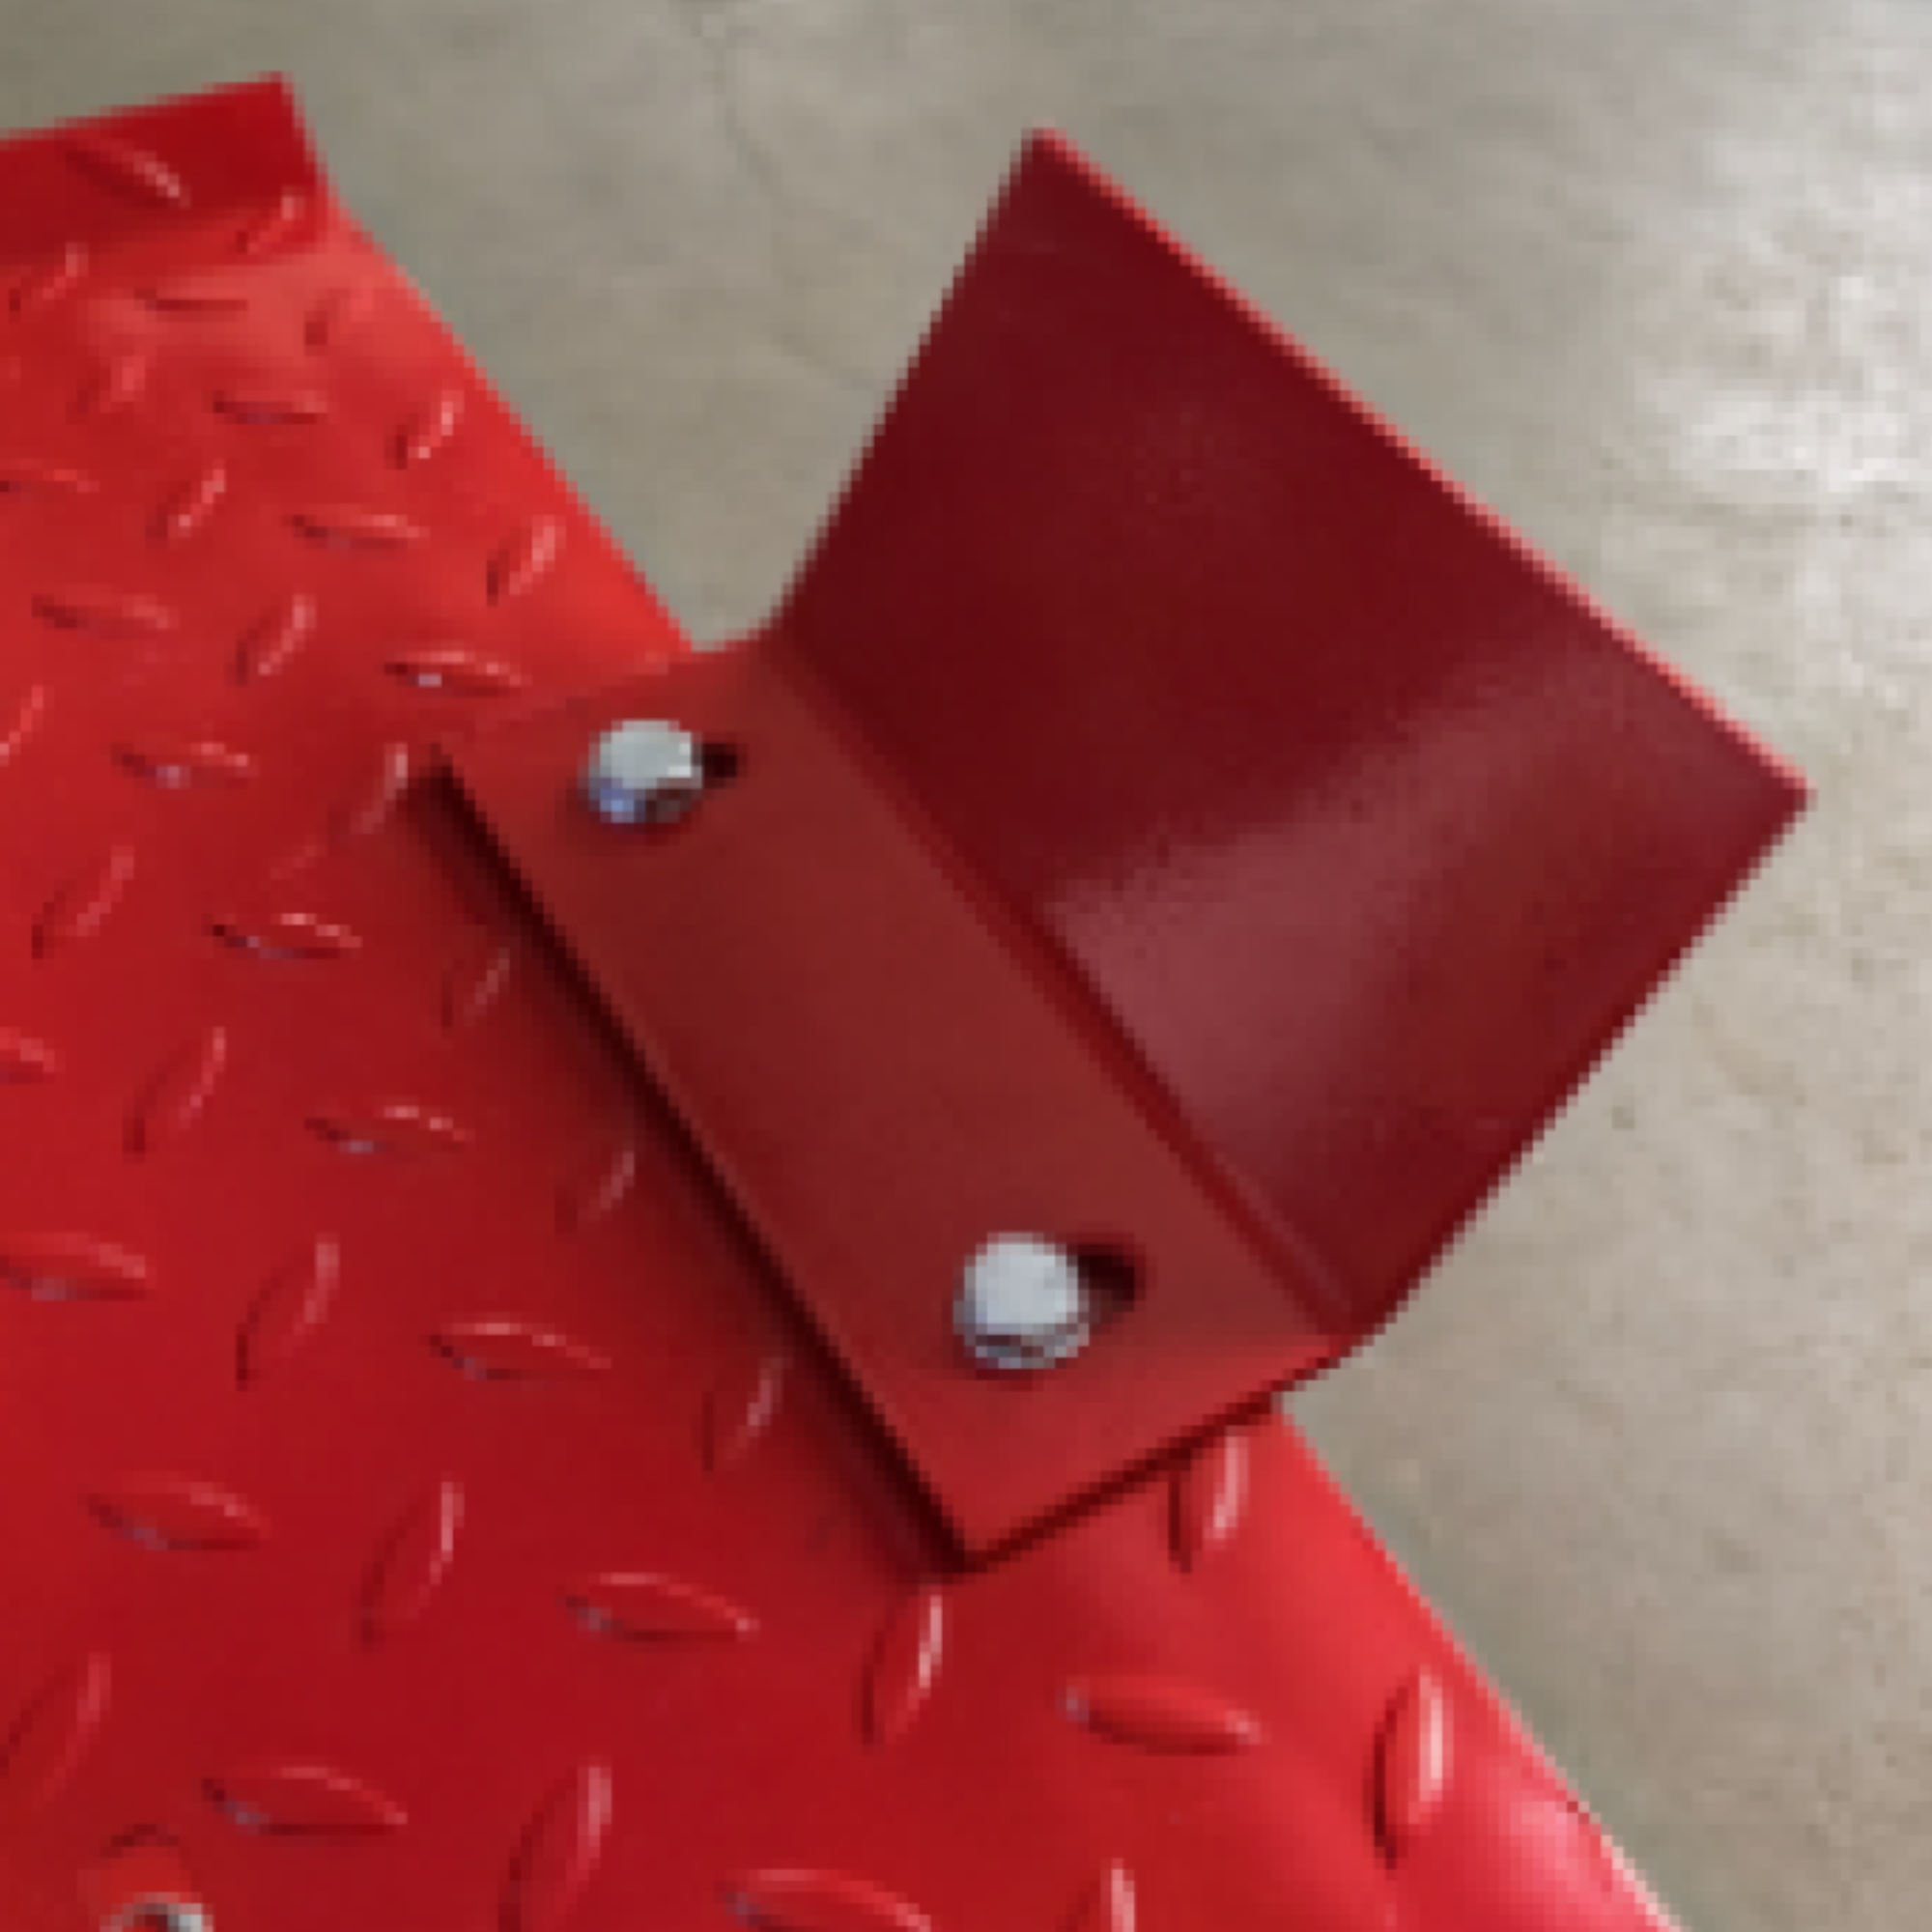
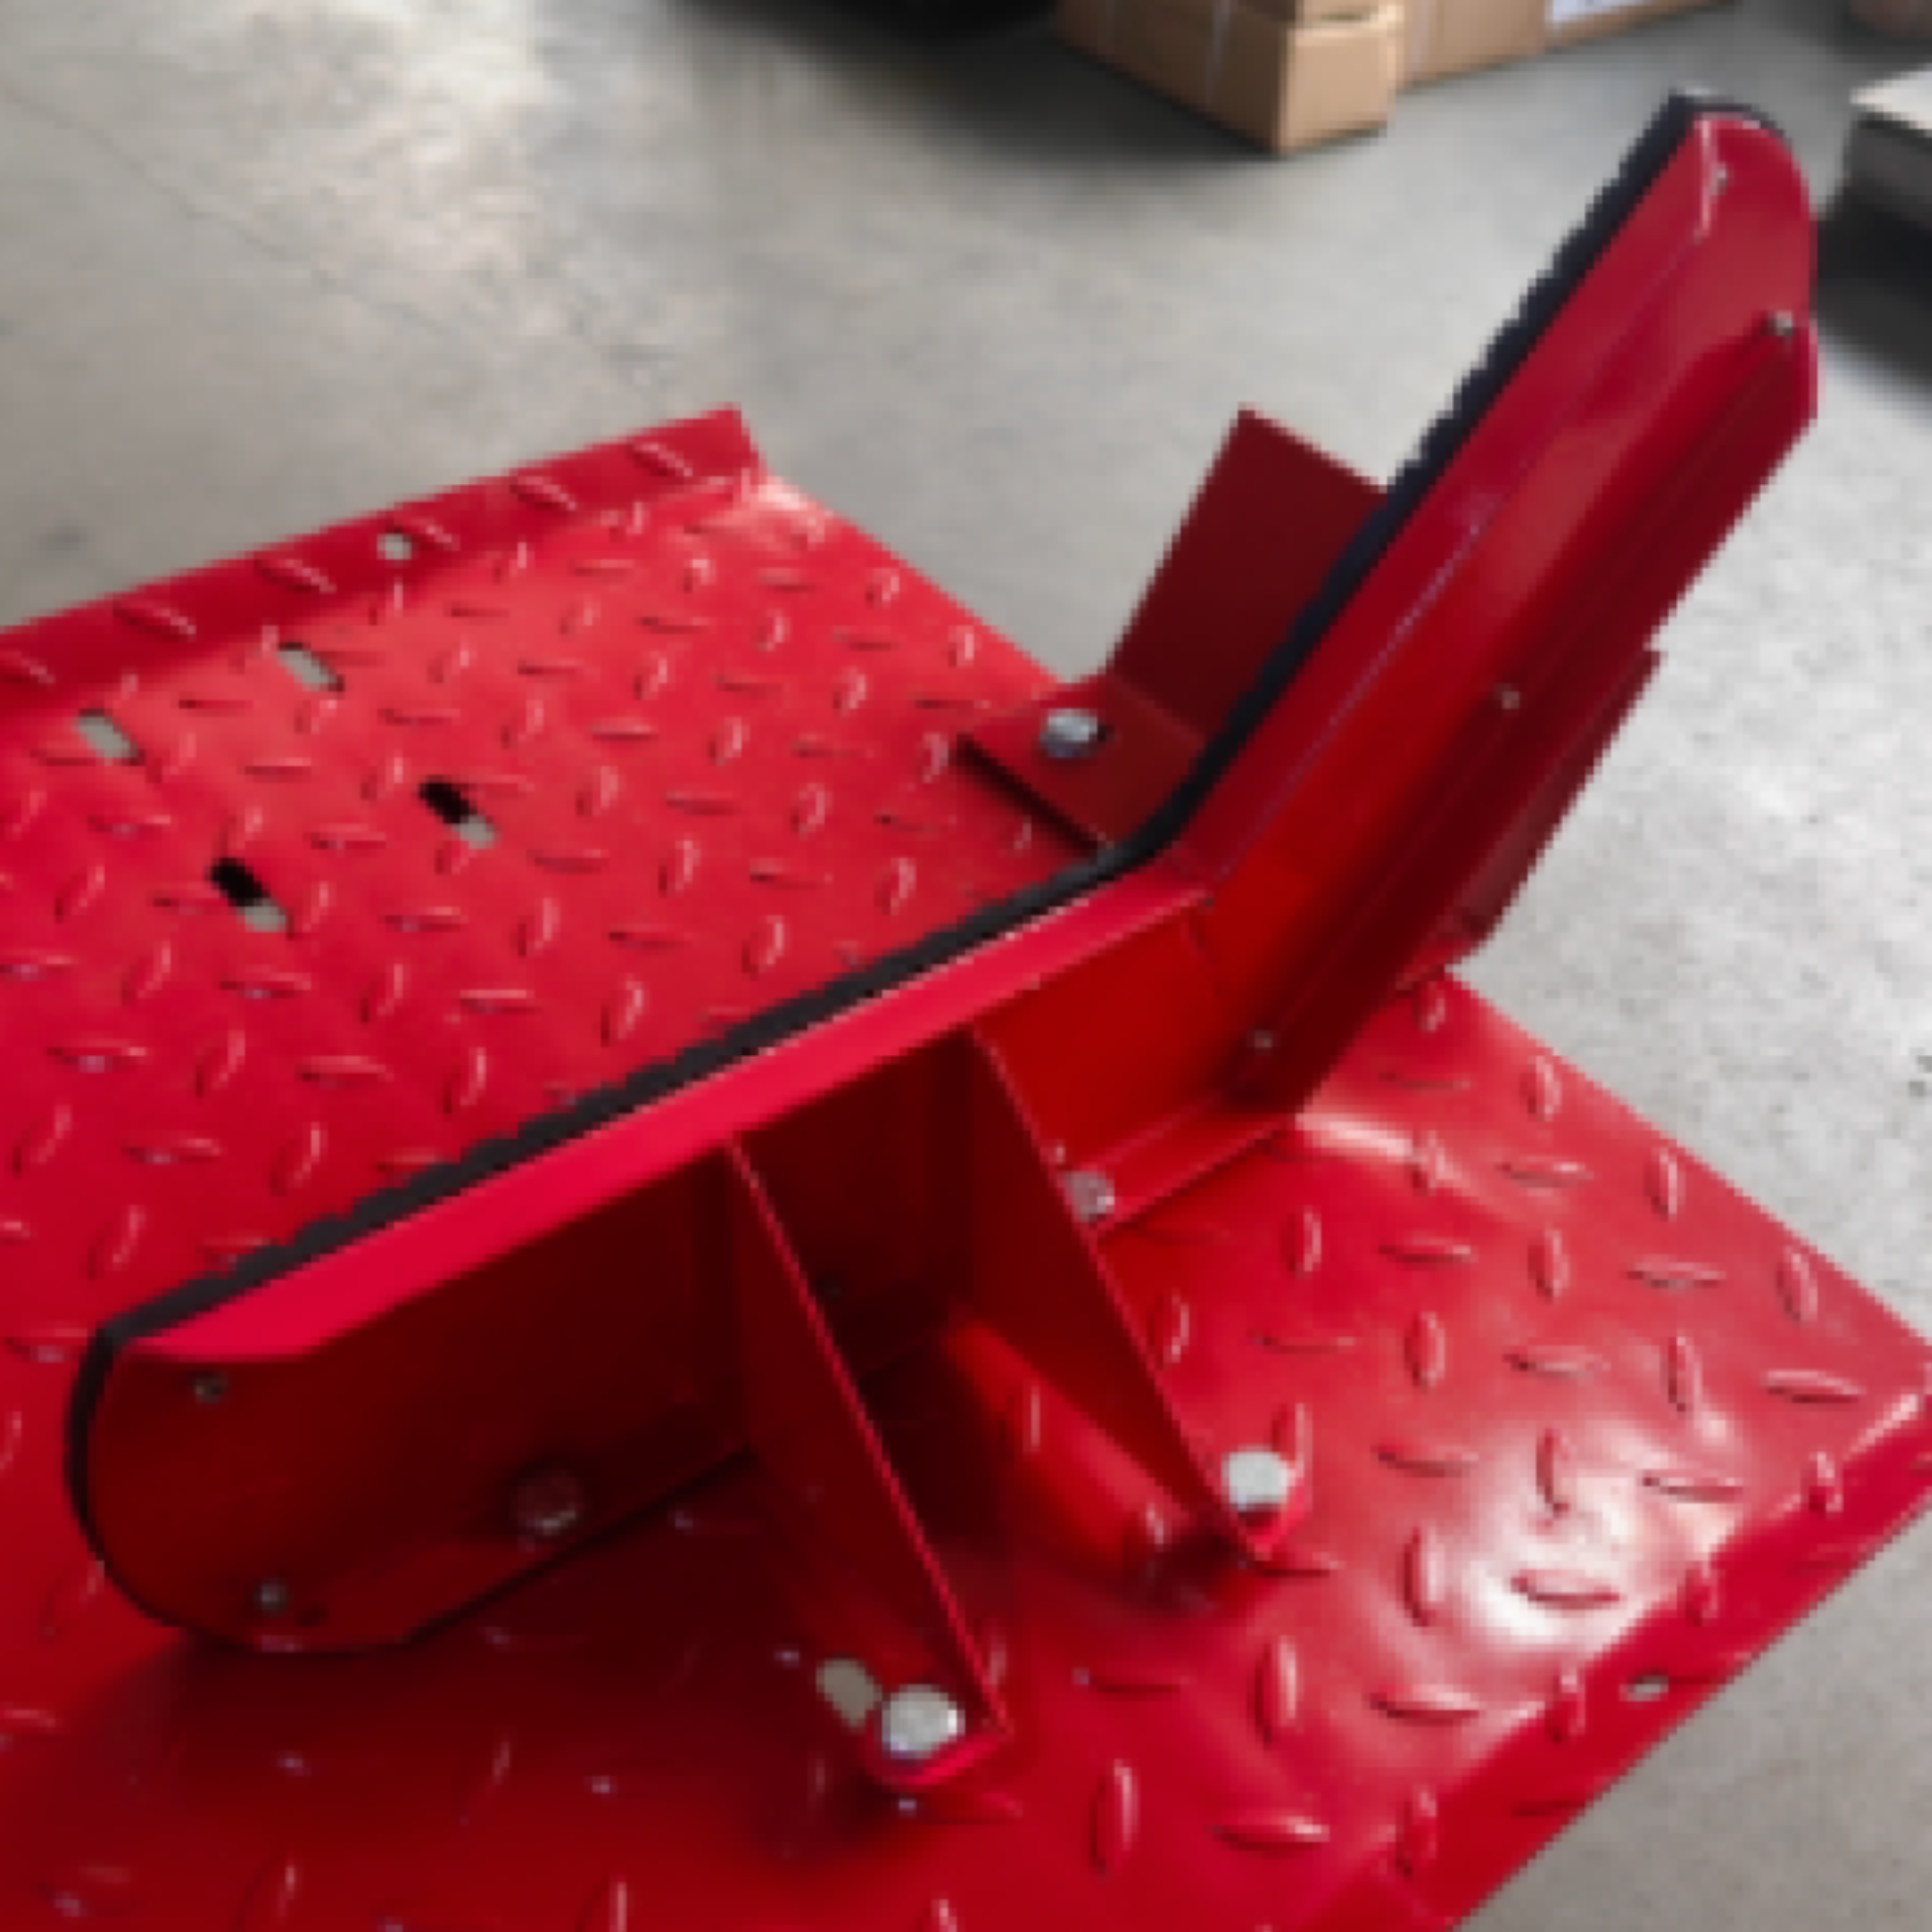
Assembly

Operating Instructions
Lifting
- Rotate the handwheel to adjust the clamping jaw width according to the tyre size.
- Repeatedly step on the lift foot pedal to raise the lift.
- After lifting is complete, use the safety pin to lock the lift.
Lowering
NOTE! Always lower the lift slowly.
- Remove the safety pin.
- Step on the drop foot pedal to lower the lift slowly.
CAUTION!
Be careful to stay clear of the scissor lifting mechanism to avoid hand injuries.
Troubleshooting Guide
| No. | Issue | Possible Cause | Solution |
|---|---|---|---|
| 1 | Abnormal noise occurs at component joints during product operation | Insufficient lubricating oil | Apply lubricating oil between the parts |
| 2 | Fails to lift | Air may be trapped in the oil pump | Open the oil plug to release air |
| 3 | Can't reach the specified lifting height | Inadequate oil; Air may be trapped in the oil pump | Add enough oil; Open the oil plug to release air |
| 4 | Oil leaks from the oil plug | Too much oil | Check the oil level and drain any excess oil |
Maintenance
1. Fill with Oil
- Find the oil plug.
- Remove the oil plug.
- Fill with hydraulic oil (NO.15 Hydraulic Oil).
- Put the oil plug back.
2. Venting the System
Sometimes air bubbles remain inside the piston, which leads to a reduction in effect and the pistons lifting unevenly. Please release air as follows:
- Open the oil plug. With one foot, step on the drop foot pedal constantly while the other foot steps on the lift foot pedal repeatedly at the same time.
- Put the oil plug back.
- If lifting still fails, repeat the steps.
3. Rust Protection
- After operating, lower the lift and make sure that the lift is in the bottom position.
- Avoid contact with moisture. If the lift gets wet, wipe it off and lubricate all parts.
Parts List & Exploded Diagram
| Part No. | Description | QTY |
|---|---|---|
| 1 | M6 × 16 Bolts | 8 |
| 2 | Ø6 Washers | 8 |
| 3 | M6 Nuts | 8 |
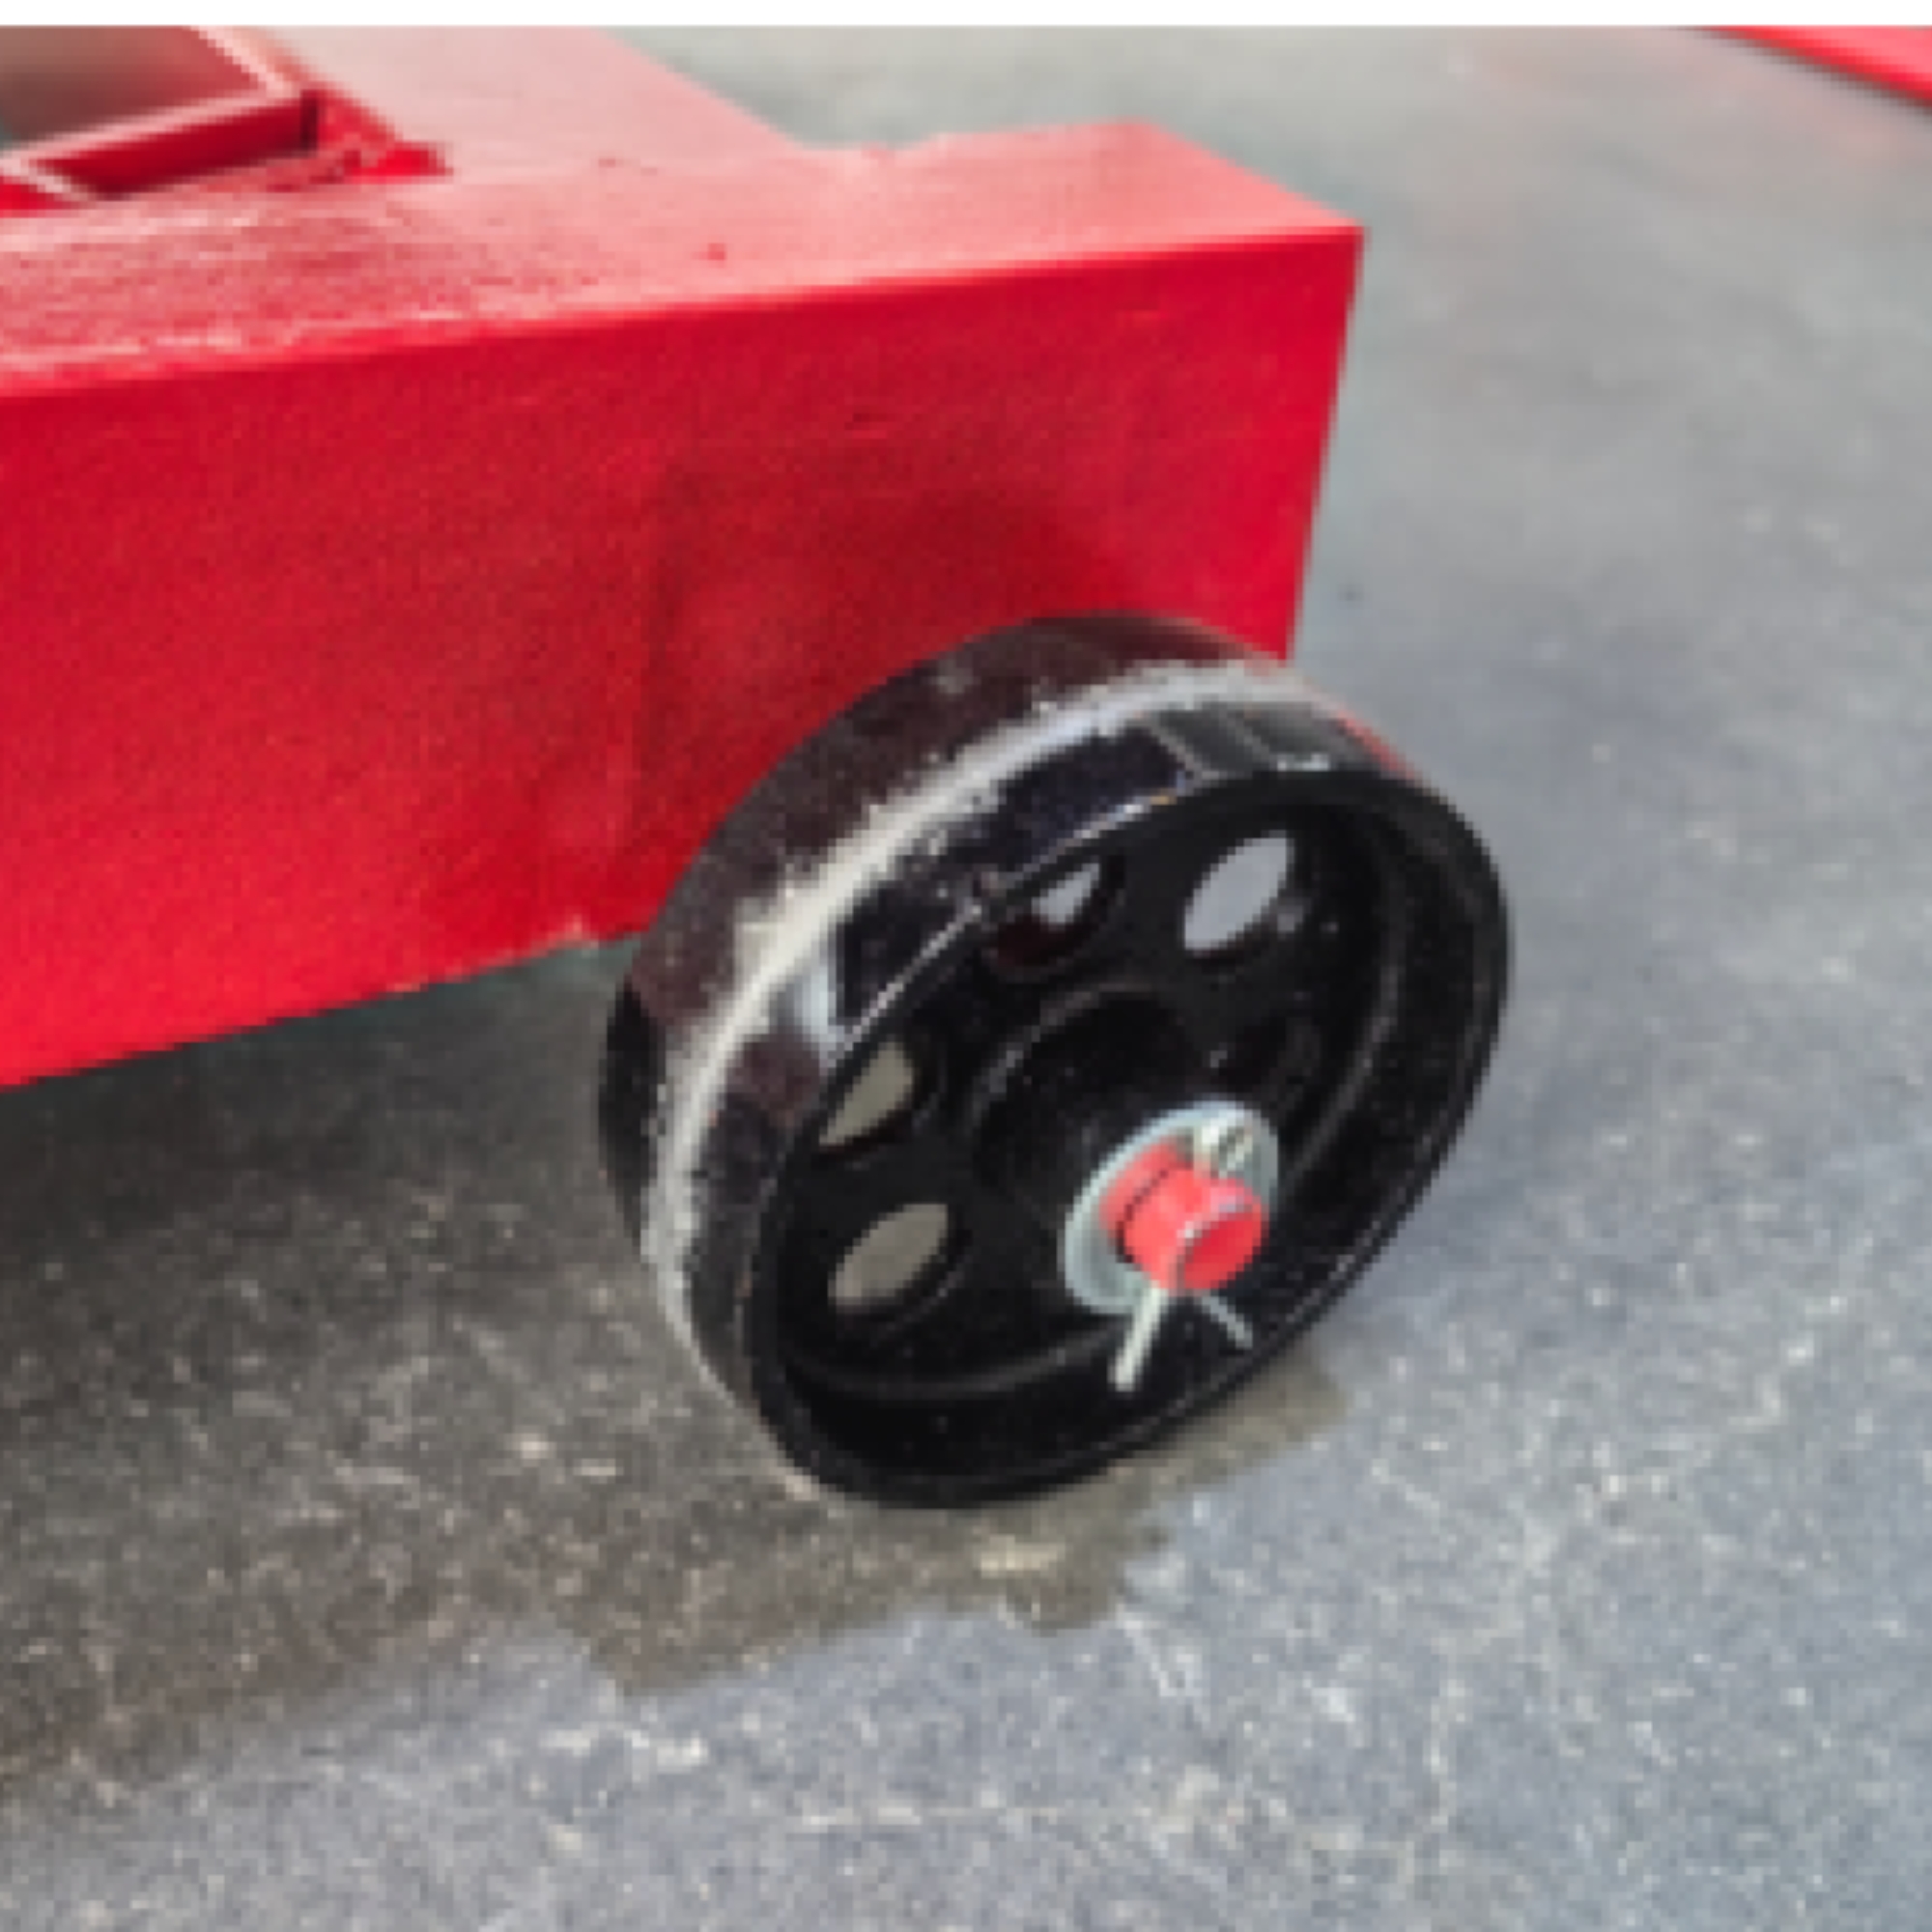
| 4 | Caster | 2 |
| 5 | Extension leg | 2 |
| 6 | Drop Foot Pedal | 1 |
| 7 | M16 Nuts | 5 |
| 8 | Half Plate | 1 |
| 9 | Lift Foot Pedal | 1 |
| 10 | M10 × 50 Bolt | 1 |
| 11 | Pin | 2 |
| 12 | M16 × 50 Bolts | 2 |
| 13 | Ø16 Washers | 4 |
| 14 | Ø16 Spring Washers | 4 |
| 15 | Ramp | 1 |
| 16 | M8 × 12 Bolts | 2 |
| 17 | Release Valve Spindle | 1 |
| 18 | Base Assembly | 1 |
| 19 | Openings Pin | 4 |
| 20 | Front Wheel | 2 |
| 21 | Pipe | 1 |
| 22 | M8 × 35 Bolts | 2 |
| 23 | Ø8 Spring Washers | 2 |
| 24 | Ø12 Washers | 2 |
| 25 | Steel Wheel (Big) | 2 |
| 26 | Steel Wheel (Small) | 2 |
| 27 | M16 × 90 Bolt | 1 |
| 28 | Spring | 1 |
| 29 | Pump | 1 |
| 30 | Platform | 1 |
| 31 | Long Pin | 1 |
| 32 | M16 × 80 Bolt | 1 |
| 33 | Lifting Arm (Outer) | 1 |
| 34 | Lifting Arm (Inside) | 1 |
| 35 | M12 × 40 Bolts | 2 |
| 36 | Ø12 Spring Washers | 2 |
| 37 | M12 Nuts | 2 |
| 38 | M10 × 25 Bolts | 10 |
| 39 | Baffle Plate | 1 |
| 40 | Ø10 Washers | 10 |
| 41 | Ø10 Spring Washers | 10 |
| 42 | M10 Nuts | 11 |
| 43 | Hand Wheel | 1 |
| 44 | Fixed Rack | 1 |
| 45 | Bolt | 1 |
| 46 | Right Plate | 1 |
| 47 | Left Plate | 1 |
| 48 | Rubber | 2 |
| 49 | M6 × 16 Bolts | 10 |
| 50 | Adjusting Screw | 2 |
Warranty Terms & Conditions
Warranty Period
This product is warranted for 12 months from the date of purchase by the first user.
Coverage
The warranty covers all material or production flaws, with the following exceptions:
- Batteries and chargers
- Parts subject to normal wear (e.g. bearings, brushes, cables, plugs)
- Accessories (e.g. drills, drill bits, saw blades)
Exclusions
The warranty does not cover damage or defects resulting from:
- Maltreatment, accidents, or alterations
- Inappropriate or negligent use of the tool
- Overloading, fluid permeation, excessive dust, or intentional damage
- Non-compliance with manual instructions, incorrect assembly, lightning strikes, or incorrect voltage
Liability
Adendorff Machinery Mart disclaims liability for bodily injury resulting from improper use of the tool.
Repairs
Warranty repairs must be conducted by an authorised Adendorff Machinery Mart repair centre. All stores have in-house service technicians.
Transportation Costs
Transportation costs for service are the customer's responsibility unless otherwise agreed in writing.
Warranty Claims
Warranty claims do not extend or restart the warranty period. Claims may be rejected if the purchase cannot be verified or if product maintenance is found lacking. A 3-month warranty applies to any repairs performed.
Maintenance and Proof of Purchase
Maintain the product as instructed (e.g. clean ventilation slots, service carbon brushes). Retain your purchase receipt as proof of the purchase date.
Return Conditions
Return the product intact, in clean condition, and in its original blow-moulded case (if applicable), along with proof of purchase.
Final Note
This manual provides complete operational guidance for the MAC AFRIC 560KGS Hydraulic Motorcycle Lift (GJACKM002). Following these procedures will ensure safe operation, consistent results, and long service life from your machine. Keep this manual accessible for all operators and refer to it regularly.
For full warranty details, visit www.adendorff.co.za. For assistance, contact the national call centre at 011 434 7000.
DANGER! Read all safety regulations and instructions.
Keep all safety regulations and instructions in a safe place for future use.
Supplied by:
Adendorff Machinery Mart
98 Sailor Malan Avenue, Aeroton, Johannesburg, 2190
www.adendorff.co.za